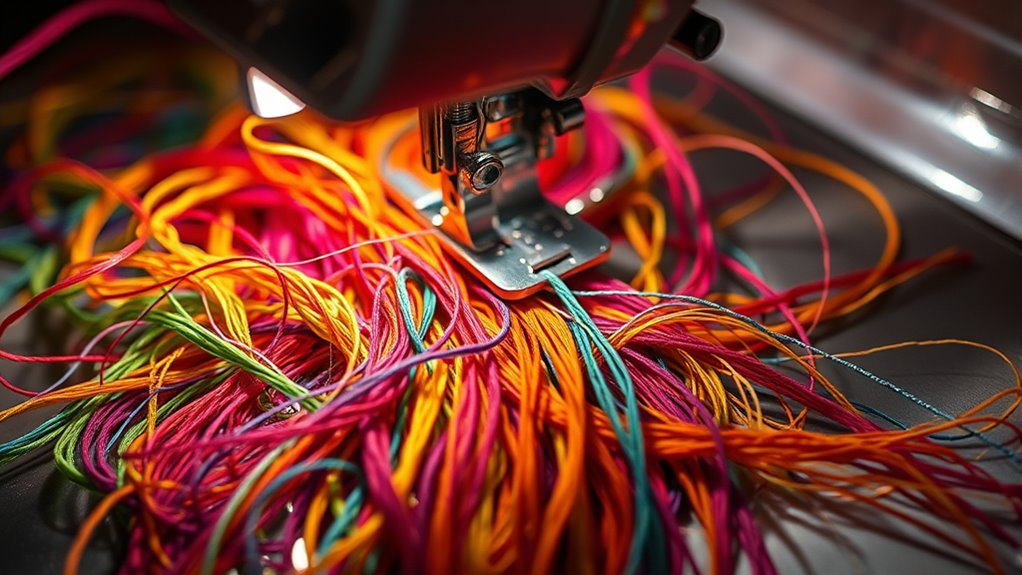
Thread bunches underneath when sewing because the top thread does not properly interlock with the bobbin thread. Common causes include incorrect threading of the upper thread, improper bobbin insertion, tension imbalances, dirty or worn parts, and using the wrong needle or thread type. Fixing tension and rethreading usually solves the issue.
Understanding the Mechanics of Thread Bunching
Thread types play a significant role in this process; for instance, polyester threads are less prone to bunching compared to cotton. The choice of thread affects how tension is distributed across your fabric.
Specific sewing techniques, such as maintaining even feeding through the machine, can prevent bunching. If your fabric shifts or the feed dogs don’t engage properly, you may notice excess thread pooling.
It’s important to verify your needle matches the thread type, as an incompatible needle can cause snagging and bunching. By carefully selecting thread types and employing effective sewing techniques, you can minimize the risk of thread bunching during your projects.
Checking Your Thread Tension
To guarantee a successful sewing experience, checking your thread tension is essential. Different thread types, such as cotton, polyester, or specialty threads, require specific tension settings to function efficiently.
Begin by testing your machine’s tension with the type of thread you plan to use. Sew a few test stitches on a scrap piece of fabric. If the stitches are loose or uneven, adjust the tension settings accordingly.
For standard thread types, a balanced tension will guarantee that both the upper and lower threads interlock properly. Remember, too much tension can cause breakage, while too little can lead to bunching.
Ensuring Proper Threading of the Machine
Properly threading your sewing machine is essential for achieving ideal stitch quality and preventing issues like thread bunching. Common threading mistakes can easily disrupt your sewing process. To avoid these, familiarize yourself with effective threading techniques.
| Mistake | Impact on Sewing | Solution |
|---|---|---|
| Incorrect path | Uneven stitches | Follow the diagram |
| Loose upper thread | Bunching underneath | Adjust tension settings |
| Misaligned needle | Snags and skipped stitches | Guarantee correct installation |
| Wrong thread type | Breakage and bunching | Match thread to fabric |
Examining the Bobbin and Bobbin Case
After confirming that your sewing machine is threaded correctly, the next step is to examine the bobbin and bobbin case. Proper bobbin maintenance is vital for smooth operation and avoiding thread bunching. Here are three key aspects to check:
- Bobbin Types: Verify you’re using the correct bobbin type for your machine. Different machines require specific bobbin designs, which can affect tension and performance.
- Bobbin Winding: Check that the bobbin is wound evenly. Uneven winding can lead to thread tangles and inconsistent stitch quality.
- Bobbin Case Condition: Inspect the bobbin case for debris or damage. A clean, undamaged case guarantees the bobbin rotates smoothly and maintains the correct tension.
Addressing these factors will help you achieve better sewing results.
Choosing the Right Needle and Thread
Choosing the right needle and thread is vital for achieving ideal sewing results, especially since mismatched combinations can lead to issues like skipped stitches, thread breakage, and fabric damage.
Start by selecting the appropriate needle types based on your fabric; for example, use a universal needle for woven fabrics and a ballpoint needle for knits.
Next, consider thread materials; polyester threads offer strength and elasticity, while cotton threads provide a natural finish.
Confirm the thread weight matches your needle size—lighter threads work best with finer needles, and thicker threads require larger needles.
Adjusting the Fabric Feed and Presser Foot Pressure
To prevent thread bunching, you need to adjust both the fabric feed and presser foot pressure on your sewing machine. Start by fine-tuning the fabric feed to match your fabric type, ensuring smooth movement through the machine. Next, calibrate the presser foot pressure to maintain even contact with the fabric, which is essential for consistent stitching.
Fabric Feed Adjustment Techniques
When you’re experiencing thread bunching while sewing, adjusting the fabric feed and presser foot pressure can make a significant difference in your results. The fabric characteristics and sewing speed play vital roles in this adjustment. Here are three key techniques to take into account:
- Adjust the Feed Dogs: Verify your feed dogs are appropriately set for the fabric type. Different fabrics require varied feeding rates to prevent bunching.
- Modify the Stitch Length: Shorter stitches can grip the fabric better, reducing the risk of bunching, especially on thicker materials.
- Control Sewing Speed: Slowing down your sewing speed allows for better control over the fabric feed, guaranteeing even tension throughout the seam.
Implementing these adjustments can lead to smoother, more professional-looking results.
Presser Foot Pressure Settings
Adjusting the presser foot pressure is essential for achieving ideal fabric feed and preventing thread bunching during sewing. The pressure adjustment affects how firmly the presser foot grips the fabric, influencing the feed mechanism’s effectiveness. For lighter fabrics, reduce the pressure to avoid puckering, while heavier materials benefit from increased pressure to guarantee smooth feeding.
To adjust, locate the pressure dial or lever on your machine, usually marked with symbols indicating light or heavy fabric. Start with a medium setting and test on a fabric scrap. Fine-tune as necessary, observing how the fabric feeds under the presser foot. A proper balance of pressure guarantees that your stitches are even and reduces the likelihood of thread bunching, leading to a polished finish.
Cleaning and Maintaining Your Sewing Machine
To guarantee peak performance, you should establish a regular cleaning schedule for your sewing machine. This includes removing lint and debris from the feed dogs and bobbin area, as well as following specific lubrication guidelines to maintain smooth operation. A well-maintained machine reduces the risk of thread bunching and extends its lifespan.
Regular Cleaning Schedule
Maintaining a regular cleaning schedule for your sewing machine is essential to guarantee peak performance and prevent issues like thread bunching. Establishing a routine helps make certain that lint and debris don’t accumulate, affecting your sewing quality. Here’s a simple guide to get you started:
- Daily Maintenance: Use a soft brush and microfiber cloth to remove lint from the bobbin area and feed dogs.
- Weekly Check: Inspect the machine for loose threads and clean the exterior with appropriate cleaning tools, like a gentle soap and water solution.
- Monthly Deep Clean: Disassemble and clean internal components as per your machine’s manual, making sure you maintain proper maintenance frequency for maximum performance.
Lubrication Guidelines
How often should you lubricate your sewing machine to keep it running smoothly? Ideally, you should lubricate your machine after every 8-10 hours of sewing, or at least once a month if you sew less frequently.
Different lubrication types are available: use sewing machine oil specifically designed for your model, avoiding general-purpose oils that can cause damage.
Pay attention to the moving parts, such as the needle bar and feed dogs, applying a drop to each point. Too much oil can attract lint, so use it sparingly.
Remember to clean the machine before lubrication to guarantee peak performance.
Practicing Proper Sewing Techniques
When you sew, employing proper techniques is crucial to prevent issues like thread bunching, which can disrupt your project and lead to frustration. Mastering sewing fundamentals and focusing on technique refinement are key to achieving smooth results. Here are three critical practices to implement:
- Thread Tension Adjustment: Verify your machine’s thread tension is correctly set for different fabrics; too tight or too loose can cause bunching.
- Needle Selection: Choose the appropriate needle type and size for your fabric to prevent snagging and verify smooth feeding.
- Fabric Handling: Avoid pulling or pushing the fabric through the machine; let the feed dogs do their job for even stitching.
Frequently Asked Questions
Can Thread Bunching Cause Permanent Damage to My Sewing Machine?
No, thread bunching won’t cause permanent damage, but neglecting sewing machine maintenance can lead to issues. Regularly adjust thread tension and keep your machine clean to prevent future problems and guarantee peak performance.
How Can I Fix Thread Bunching Without Starting Over?
You can fix thread bunching by adjusting tension, rethreading the machine, and ensuring the bobbin’s installed correctly. Employ these sewing techniques and troubleshooting tips, and you won’t need to start over—unless you enjoy that sort of thing.
What Type of Fabric Is Most Prone to Thread Bunching?
Silk fabrics and knit materials are most prone to thread bunching due to their fine, stretchy nature. These textiles can easily shift during sewing, causing misalignment and thread tension issues, so be mindful while working with them.
Is Thread Bunching More Common in Beginner Sewing Projects?
Absolutely, thread bunching’s often more common in beginner sewing projects. You’re likely to encounter common mistakes, particularly with beginner techniques like threading and tension adjustment, which can lead to frustrating bunching if not correctly managed.
Can Humidity Affect Thread Bunching While Sewing?
Yes, humidity effects can greatly impact thread tension. High humidity may cause threads to swell, altering their tension and leading to inconsistent stitches. Adjusting your machine settings can help mitigate these issues for smoother sewing.


