How To Slip Stitch Sewing: Invisible Hand Hem Guide sets you up to sew clean, hidden seams like a pro. I’ll show you how to slip stitch sewing with simple steps, clear pictures in your mind, and smart tips. You’ll learn what it is, why it works, and exactly how to do it on hems, linings, and patches without showing a single stitch. Read on if you want neat, strong, almost invisible results that make your projects look polished.
Products you might like
KING MOUNTAIN Self Adhesive Nylon Fabric Repair Tape, 4×63 Inches
Check Price
Klangfeiler® Iron on Hemming Web – 0.75 INCH x 32 Yards – Extra Strong – Iron Required
Check PriceWhat Is A Slip Stitch?
A slip stitch is a hand stitch that joins a folded edge to a flat piece of fabric with stitches that barely show on the outside. It’s ideal for hemming pants, skirts, dresses, attaching linings, and closing pillow openings. If you want to know how to slip stitch sewing for invisible hems, this is the stitch you need.
Why Use Slip Stitch?
I use slip stitch because it looks clean, holds well, and gives me control. Research on hand-sewn seams shows that small, evenly spaced stitches distribute stress better and reduce puckering compared to larger, irregular stitches. For hems, this stitch is low-profile and flexible, so the fabric drapes nicely. If you learn how to slip stitch sewing correctly, you get long-lasting, discreet seams that stand up to wear.

Products you might like
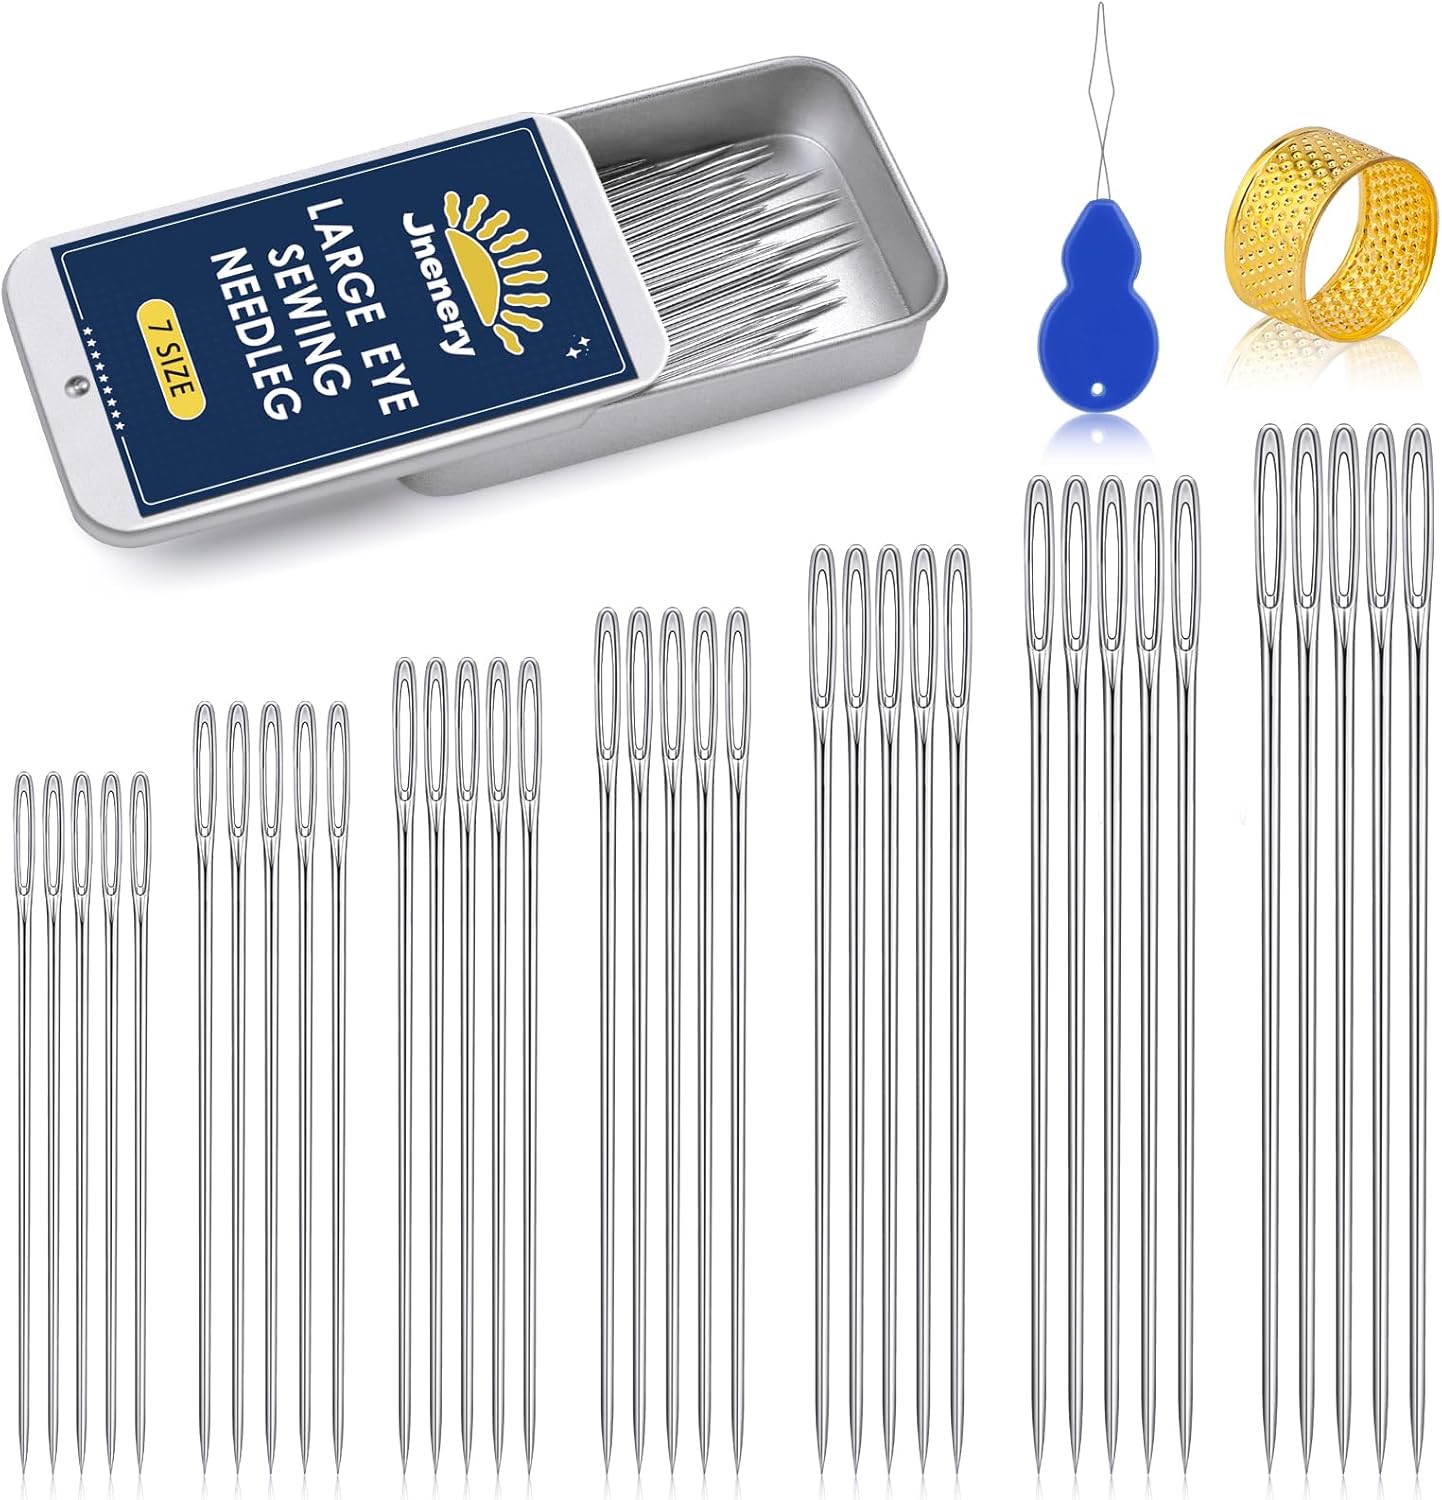
35 Pcs Large Eye Sewing Needles, 7 Size Sewing Sharp Needles for Handsewing
Check Price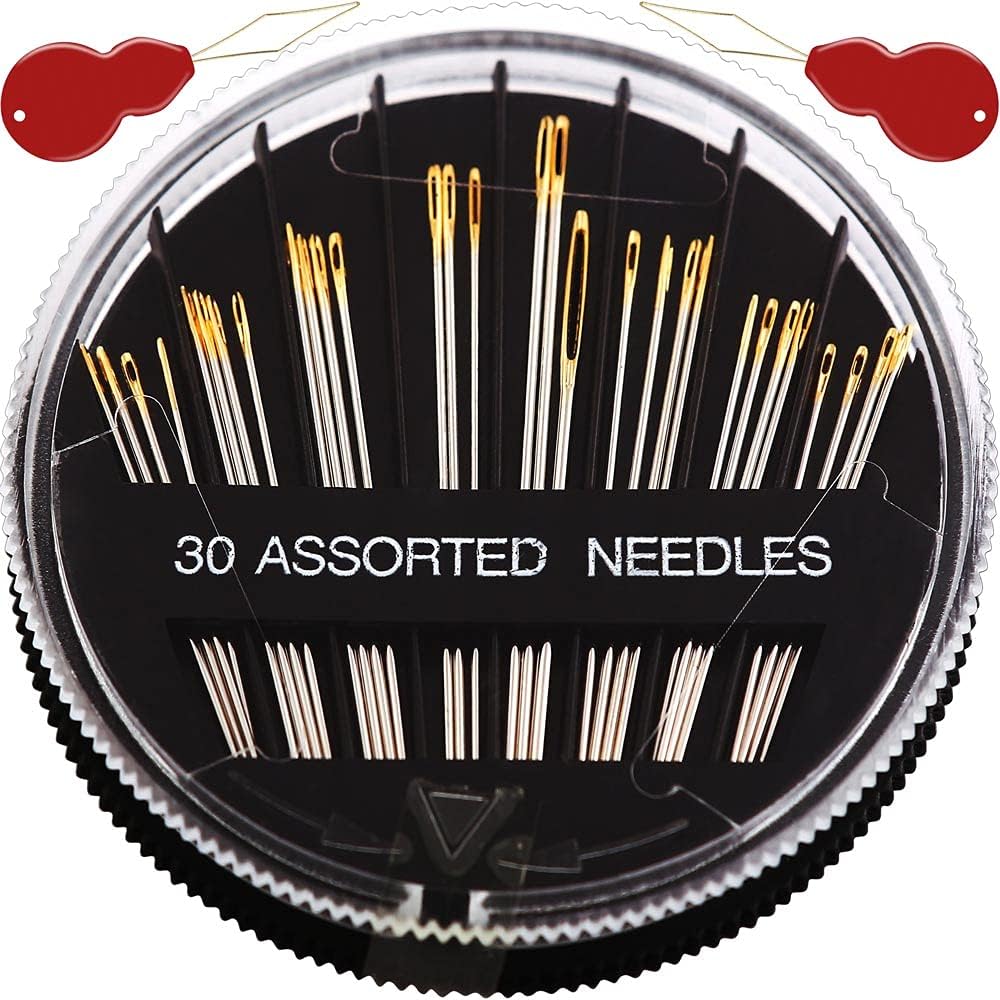
Premium 30/60 Pack Sewing Needles for Hand Sewing Repair with 2 Threaders, 6 Sizes Assorted
Check PriceTools And Materials Checklist
You don’t need much to start. A basic kit works.
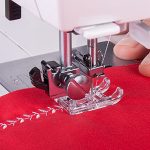
- Hand-sewing needle: size 9–11 sharp for woven fabric; a finer needle for silk.
- Thread: polyester for strength; cotton for heat-friendly pressing; silk thread for luxury fabrics.
- Scissors or snips.
- Pins or clips.
- Fabric marker or chalk.
- Iron and pressing cloth.
- Thimble if your fingers get sore.
- Beeswax or thread conditioner for less tangling.
Step-By-Step: How To Slip Stitch Sewing
Follow these steps the first few times. Then your hands will remember the rhythm. If you’re practicing how to slip stitch sewing for the first time, use contrasting thread on scrap fabric so you can see your bites.
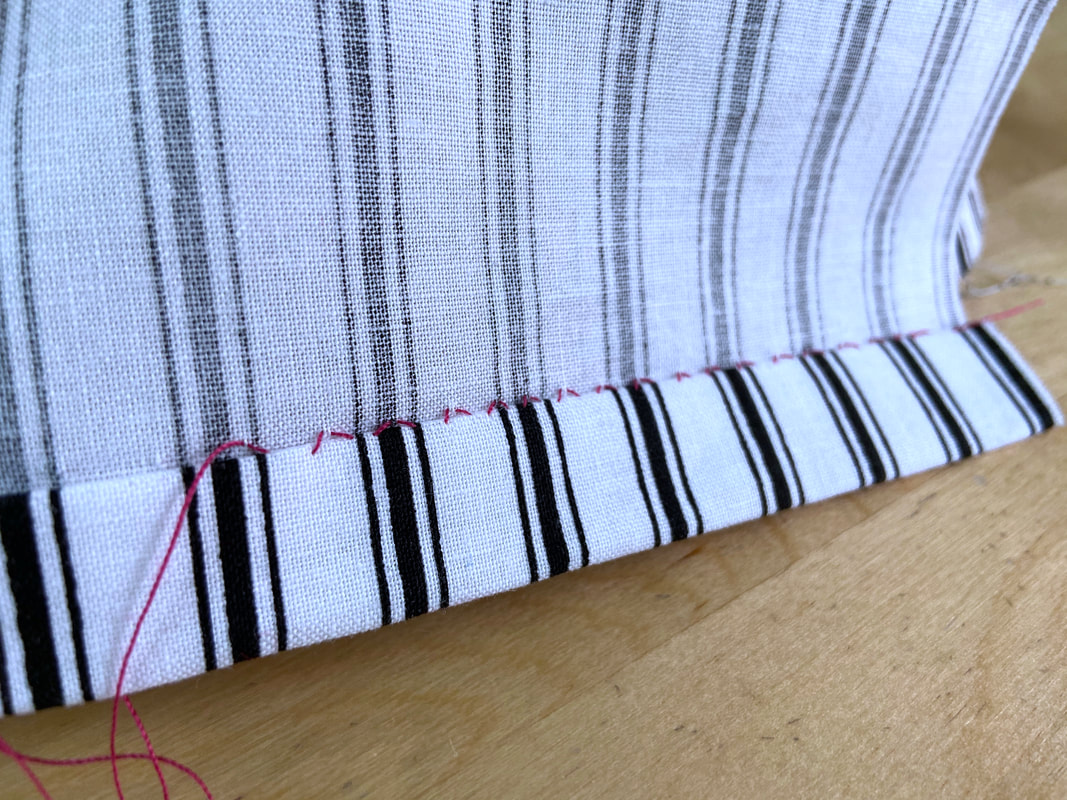
Prepare The Edge
Press your hem up to the finished length. Turn the raw edge under by 1/4 inch and press again. Sharp creases make clean stitches.
Thread And Knot
Cut a thread about 18–24 inches. Condition it if you like. Thread the needle and tie a small knot at the end.
Anchor The Start
Hide the knot inside the fold. Bring the needle up through the fold, not through to the outside fabric. This keeps the start invisible.
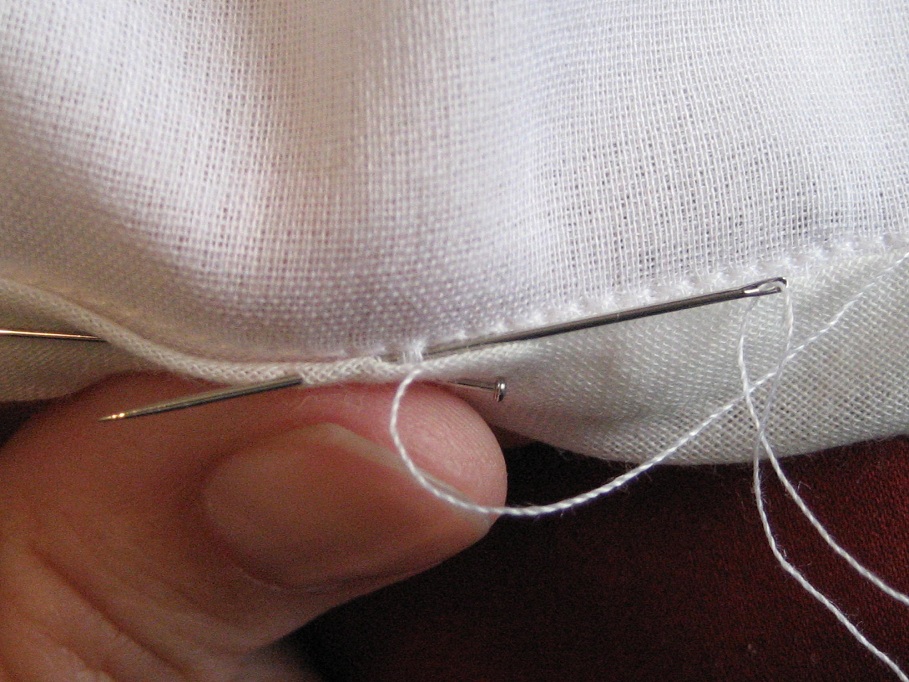
Take Tiny Bites
Take a tiny horizontal bite (1–2 threads) from the main fabric just above the fold. Then go back into the fold directly across from that bite.
Space And Tension
Repeat the same motion every 3–5 mm (about 1/8–3/16 inch). Keep the thread snug, not tight. The fold should sit flat without puckers. This spacing is the sweet spot most beginners hit after a few minutes of how to slip stitch sewing practice.
Keep The Angle Consistent
Hold the needle nearly parallel to the fold. Consistent angle and spacing make the stitch line vanish.
Secure And Hide The Knot
At the end, take two small backstitches inside the fold. Slip the needle between the layers for 1 inch and exit, then snip. The tail will retract and hide.
Press For Finish
Press the hem with steam and a pressing cloth. Heat sets the stitches and smooths the line.
Best Practices And Pro Tips
I’ve tested these habits on garments, home decor, and costumes. They make how to slip stitch sewing faster and cleaner.
- Match thread to fabric shade for extra invisibility.
- Use shorter stitches on high-stress spots like corners.
- Switch to silk thread on fine wool or silk to reduce friction marks.
- Work under good light; a clip-on lamp reduces eye strain.
- Keep your thread short; long thread twists and knots.
- Practice on a 6-inch hem sample to set your spacing muscle memory.
Products you might like

45 spools Sewing Thread Kits Polyester for Hand & Machine Sewing
Check Price
6 Rolls Strong Upholstery Thread High Strength Sewing Waxed Thread with Hand Stitching Needle
Check PriceCommon Mistakes And Quick Fixes
Everyone bumps into these issues while learning how to slip stitch sewing. Here’s how I fix them fast.
- Puckering: Your tension is too tight. Gently stretch the area with steam and ease the thread.
- Visible dots outside: Your bites in the main fabric are too big. Aim for 1–2 fabric threads.
- Wavy hem: Press first and pin every 2–3 inches to stabilize the fold.
- Knots in thread: Use shorter lengths, condition the thread, and let the needle dangle to untwist.
- Weak finish: Add two tiny backstitches inside the fold before burying the tail.
Variations: Ladder Stitch And Blind Hem By Hand
If you want more ways to handle closures and hems, try these. They pair well with how to slip stitch sewing in different spots of the same project.
Ladder Stitch (For Closures)
Use this to close stuffed pillows or linings. Take small bites from each folded edge, straight across from each other. When you pull the thread, the “rungs” close and disappear. It’s the cousin of slip stitch.
Blind Hem By Hand (For Full Garments)
Similar motion, but bites angle slightly upward to follow the hem curve on skirts and trousers. Keep spacing tight near curves for a smooth fall.
Frequently Asked Questions
Is Slip Stitch Strong Enough For Everyday Hems?
Yes. With 3–5 mm spacing and quality thread, slip stitch holds everyday hems well. For heavy fabrics like denim, reinforce corners and keep bites tiny.
What Thread Works Best?
Polyester is strong and low-stretch, great for most clothes. Cotton handles heat well and suits quilting cotton. Silk thread glides on fine fabrics. Match thread weight to fabric weight.
How Do I Keep Stitches Invisible?
Take tiny bites from the outer fabric—just 1–2 threads. Match thread color, keep spacing even, and press after sewing.
Can Beginners Learn This Fast?
Absolutely. Practice how to slip stitch sewing on a 6-inch scrap. Most beginners get neat results in under 20 minutes.
What’s The Difference Between Slip Stitch And Ladder Stitch?
Slip stitch joins a folded edge to a flat piece. Ladder stitch joins two folded edges together and closes like a zipper when you tighten it.
Conclusion
You’ve learned what it is, why it matters, and exactly how to slip stitch sewing for invisible hems, linings, and closures. Keep your bites tiny, your spacing steady, and your tension gentle. Test on scraps, then finish a hem today to lock in the skill.
Try one small project right now: re-hem a T-shirt or skirt with how to slip stitch sewing. Share your result, ask questions, or subscribe for more quick tutorials and smart hand-sewing tips.