I’ve sewn miles of bias tape on quilts, kids’ clothes, and slippery hems. I know where seams pucker, where corners fight back, and how to make edges look clean. In this guide, I’ll show you how to sew bias tape with clear steps, tested tips, and easy fixes. If you want neat edges on curves, corners, and hems, this is for you. You will learn how to use single-fold and double-fold styles, attach bias binding like a pro, and avoid the traps I learned the hard way.
What Is Bias Tape And Why Use It

IubuFigo 12mm 1/2″ Single Fold Bias Tape Bias Binding for Sewing
12mm 1/2″ Single Fold Bias Tape Bias Binding for Sewing Solid Color 100% Polyester
Check PriceBias tape is a narrow strip of fabric cut on the bias at 45 degrees. This cut lets it stretch and bend. That makes it perfect for finishing raw edges on curves and corners.
You can buy it pre-made or cut your own from cotton, linen, or even satin. Use it on necklines, armholes, placemats, baby bibs, and quilts. It adds strength and a crisp finish while hiding raw edges.
Two common styles:
- Single-fold bias tape. One fold on each side. Great for facing edges or making casings.
- Double-fold bias tape. Folded again down the middle. Best for visible edge binding on quilts and garments.
From experience, double-fold is kinder to beginners on visible edges. It is thicker and hides tiny wobbles.
Tools And Materials
You do not need fancy gear to start. Keep these on hand:
– Bias tape. Single-fold or double-fold, store-bought or handmade.
– Fabric for your project. Pre-washed and pressed.
– Sewing machine. Straight stitch is enough.
– Thread. Match your bias or your fabric.
– Pins or clips. Clips are faster and do not distort bias.
– Iron and pressing tools. A hot, steady press is your best friend.
– Measuring tools. Ruler or seam gauge.
– Scissors or rotary cutter and mat.
– Optional feet. Edge-stitch foot or walking foot for even feeding.
I often use a walking foot on quilts or thick seams. It helps prevent ripples.
Choosing And Making Bias Tape
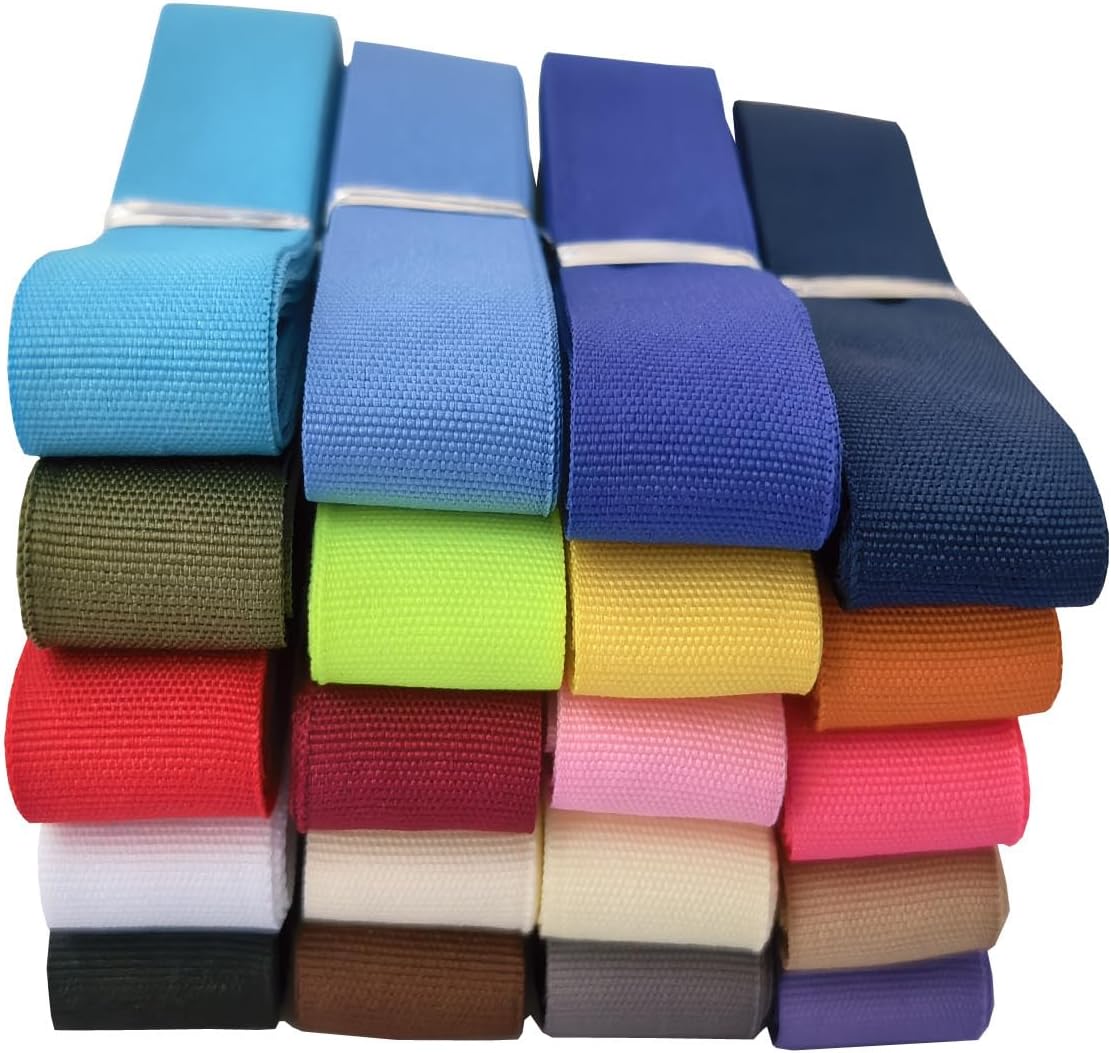
MONIDOOR 7/8 Inch Bias Tape 40 Yards 20 Colors Polyester Binding Tape for Sewing
Color: Mixed color 1, 20 colors in total, 2 yards per color. Quantity: 40 yards in total, 20 colors, 2 yards per color. Width: 7/8 inch ( 22 mm ).
Check PriceIf you buy bias tape, look for 100 percent cotton for easy pressing and clean corners. For silky garments, silk or rayon blends drape well but need more care.
To make your own:
- Cut strips at 45 degrees to the grain. Use a quilting ruler for accuracy.
- Choose width. For double-fold tape, cut strips at 1.75 to 2.25 inches for common bindings. Wider tape gives more control.
- Join strips. Place right sides at right angles. Stitch diagonally. Trim and press seams open.
- Press folds. Use a bias tape maker or fold edges toward the center by hand. For double-fold, press again lengthwise.
Why cut on the bias? It stretches to hug curves. Straight-cut tape will fight you on armholes and necklines.
Prep Your Project Edges
Great binding starts before you sew.
– Trim stray threads and even the edge.
– Staystitch inner curves at 1⁄8 inch to prevent stretching.
– Press the edge flat. Steam can warp curves, so use a light touch.
– Test on a scrap. Match thread and tension first.
On quilts, square corners and trim batting flush. On garments, clip or notch curves before binding to release tension.

Single-Fold Vs Double-Fold: When To Use Each
Pick the right tape for the job:
– Use single-fold bias tape when you want a clean facing on necklines and armholes. It rolls inside, so the binding does not show.
– Use double-fold bias tape when you want a visible, durable edge. This is the classic quilt binding.
My rule of thumb:
- Light clothes, hidden finish. Single-fold.
- Table linens, hot pads, quilts, kid gear. Double-fold for strength.


Mandala Crafts Orchid Maxi Piping Bias Tape with Welting Cord
Orchid Bias Tape Maxi Piping Trim: Made from single fold bias tape & cotton piping cording, the washable & dryable welt cord piping sewing tape is non stretch & colorfast, making great cord trim for sewing & sewing piping cord for upholstery tape.
Check PriceHow To Attach Double-Fold Bias Tape On Straight Edges
This is the most common method for visible binding. Use these steps for placemats, quilts, and straight hems.
- Step 1: Place and start. Open one fold of the tape. Align the raw edge of the tape with the raw edge of your fabric, right sides together. Leave a 3 to 4 inch tail unsewn at the start for joining later.
- Step 2: Stitch in the crease. Sew along the fold line of the tape. Keep the fabric flat and do not stretch the bias.
- Step 3: Wrap and press. Fold the tape over the raw edge to the other side. The fold should cover the first stitching line. Press and clip in place.
- Step 4: Finish from the front. Stitch close to the folded edge. You can stitch in the ditch from the front for a neat line. Check the back to be sure you caught the edge.
- Step 5: Join the ends. Stop sewing 5 inches from where you began. Overlap the tails by the exact width of the tape. Cut the excess. Join the ends with a diagonal seam. Press open. Finish stitching to close the gap.
Pro tip: Stitch in the ditch with an edge-stitch foot for a straight finish. If your binding wanders, slow down and shorten your stitch length slightly.
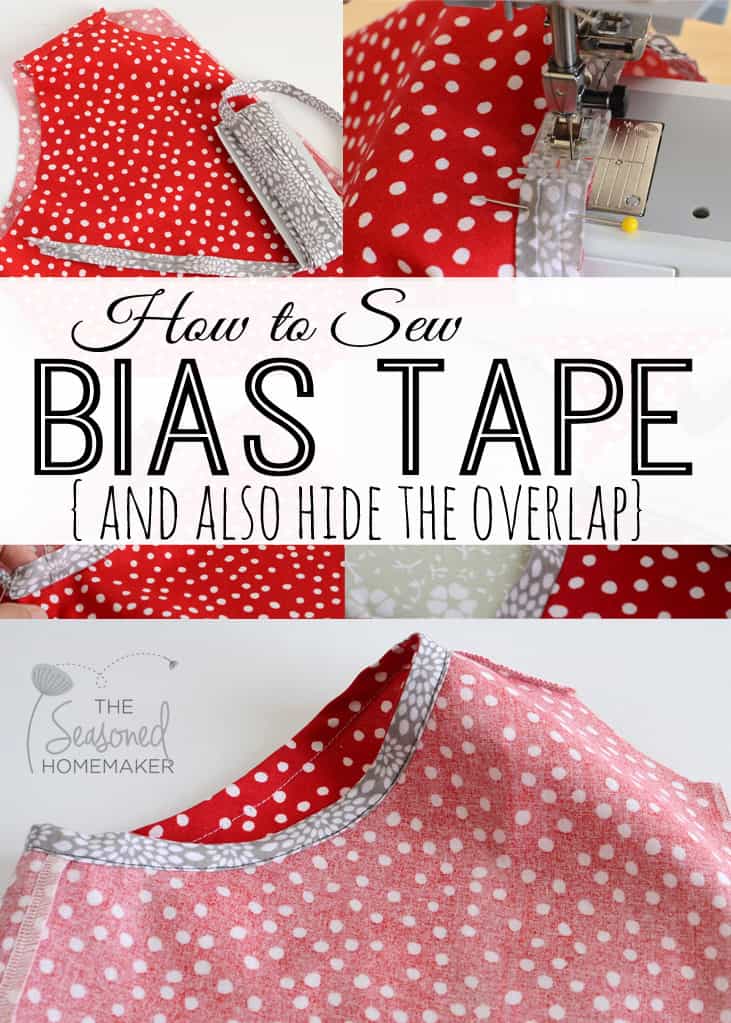
How To Attach Single-Fold Bias Tape As A Facing
This creates a clean, hidden finish on necklines and armholes.
- Step 1: Align. Open one fold of the tape and place it right sides together with the edge. Match raw edges.
- Step 2: Stitch in the crease. Sew along the fold line.
- Step 3: Understitch. Press the tape away from the fabric. Understitch close to the seam on the tape side. This helps the facing roll inside and stay hidden.
- Step 4: Wrap and press. Fold the tape to the inside. The inner folded edge should sit just past the seam line.
- Step 5: Finish. Stitch close to the inner fold. Or hand stitch for an invisible finish.
If the edge is tight, steam and finger-press first. Clip the curve carefully to help it relax.
Sewing Curves And Mitered Corners
Curves:
– Do not pre-stretch the tape. Let it bend as you place it.
– Ease the tape around the curve with gentle hand tension.
– On inner curves, clip the seam allowance up to but not through the stitch line.
– On outer curves, keep the tape flat to stop ripples.
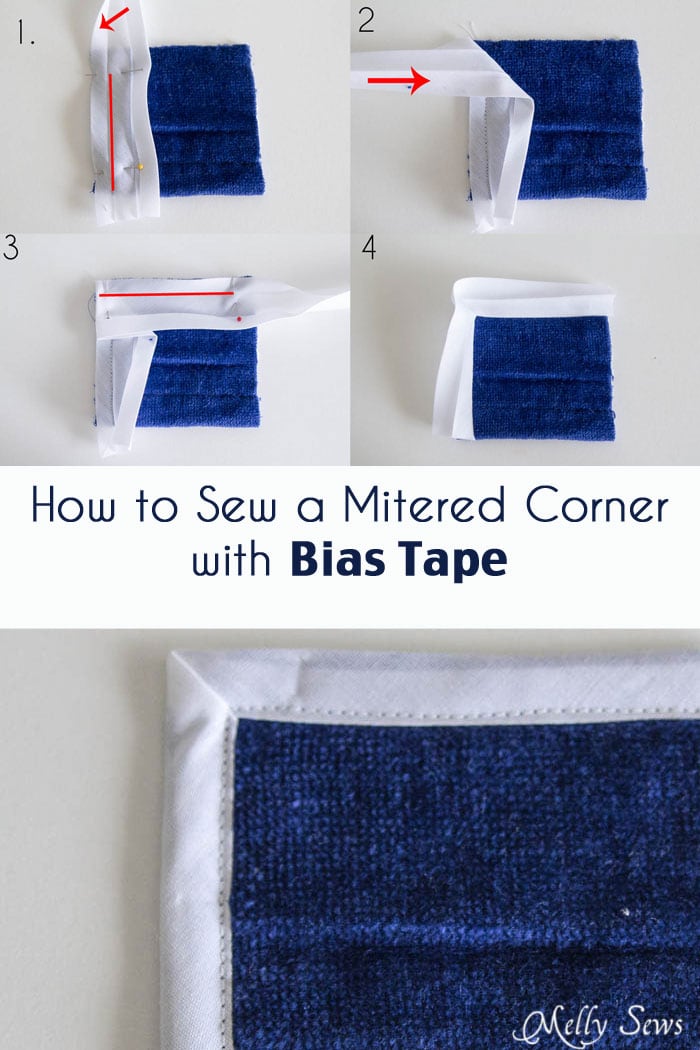
Mitered corners with double-fold tape:
- Step 1: Approach the corner. Stop stitching the first side at a seam allowance distance from the corner. For example, stop ¼ inch before the corner.
- Step 2: Fold up. Remove the fabric from the machine. Fold the tape up at 45 degrees so the raw edge aligns with the next side.
- Step 3: Fold down. Bring the tape back down along the next side. You will see a neat fold at the corner.
- Step 4: Sew the next side. Start at the edge and continue. On the wrap side, tuck the corner into a miter and clip before topstitching.
Practice corners on scrap first. If your corner is bulky, trim the inner layers of the tape at the fold.
Common Mistakes And Easy Fixes
I have made these mistakes. Here is how to fix them fast.
- Puckers on curves. You stretched the tape. Ease it in and clip inner curves. Press with steam and a clapper to flatten.
- Missed edge on the back. Your fold did not cover the first seam. Wrap a tiny bit more or use wider tape.
- Wavy binding. Fabric fed unevenly. Use a walking foot and do not pull the tape.
- Thick corners. Reduce bulk. Trim seam allowances and fold a cleaner miter.
- Twisted joins. Join tape ends on a diagonal. Press seams open to spread the bulk.
If you must unpick, use a sharp seam ripper and work from the bobbin side for fewer snags.
Finishing Touches And Care
Give your work a pro finish:
– Press as you go. Press after every major step. It sets stitches and shapes curves.
– Choose your finish stitch. Straight stitch, stitch in the ditch, or a narrow zigzag for stretch items.
– Hand finish when it matters. On fine garments, slip stitch the inside for an invisible look.
– Wash and care. Cotton bias tape washes well. For silk or rayon, wash by hand or use a delicate cycle and a press cloth.
For quilts, a final wash softens the binding and hides tiny wobbles. That first wash is magic.
Pro Tips From My Sewing Table
– Test width. Cut a 12 inch sample edge and bind it to test coverage and stitch settings.
– Color choice. Match the bias to the fabric for invisible polish, or pick a contrast for a statement edge.
– Thread matters. Fine 50 wt cotton blends in. For decorative edges, try 40 wt for a tiny pop.
– Secure starts. Backstitch at the start and end of each side, or tie off threads for a clean front.
– Mark corners. Draw tiny dots where you should stop before corners. It keeps every miter exact.
One lesson I learned the hard way: when in doubt, go wider. A slightly wider tape can save you from missed edges and rework.
Frequently Asked Questions
What Is The Difference Between Bias Tape And Bias Binding?
They are often used the same way. Bias tape is the strip itself. Bias binding is the act of using that strip to finish an edge, often with double-fold tape.
Should I Prewash Bias Tape?
Yes, if it is cotton or will be washed often. Prewashing prevents shrinkage after sewing and keeps edges from warping later.
How Wide Should I Cut Bias Strips For Binding?
For double-fold binding on quilts, 2 to 2.25 inches works well. For thin fabrics or tight curves, go a bit wider, like 2.5 inches, for easier wrapping.
Can I Use Bias Tape On Knits?
Yes, but use a light stretch stitch or a narrow zigzag. For best results, use knit binding or very soft woven bias and do not stretch as you sew.
How Do I Get Perfect Mitered Corners?
Stop one seam allowance from the corner, fold up at 45 degrees, then fold down along the next side. Clip the wrapped side into a clean miter before topstitching. Press well.
What Stitch Length Works Best?
A 2.2 to 2.6 mm straight stitch is a good start. Shorten slightly on tight curves for control.
Is Handmade Bias Tape Better Than Store-Bought?
Handmade fits your fabric, color, and width needs. Store-bought is fast and consistent. Use handmade when you want a perfect match or special fabric.
Conclusion
You now know how to sew bias tape on straight edges, around tight curves, and across crisp corners. You can choose single-fold for hidden facings and double-fold for bold, durable edges. Start with a small project, test your width and stitch, and press after every step. Your edges will look clean, strong, and ready for wear.
Ready to try it today? Pick a scrap, cut a strip, and sew one perfect corner. Share your results, ask a question, or subscribe for more sewing guides and step-by-step tutorials.

