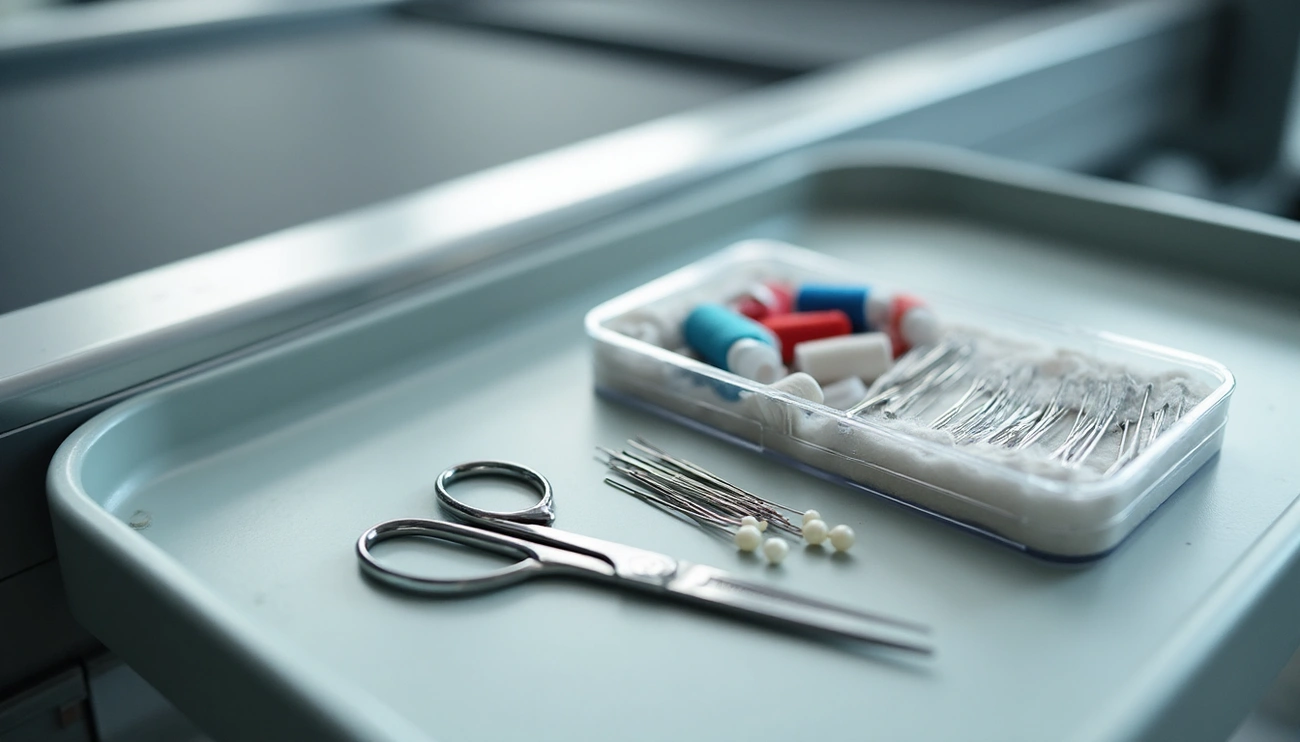
Don’t worry about carrying the sewing needles on a plane. Because, you can bring sewing needles on a plane in both carry-on and checked baggage, according to the TSA. Hand-sewing and machine needles are allowed, as well as scissors under 4 inches. Avoid packing circular thread cutters or tools with blades, which may be restricted.

ARTIKA Travel Sewing Kit, 59-Piece Portable Kit for Travel, Includes Scissors
Check PriceCan You Bring Sewing Needles on a Plane?
The good news for crafters is straightforward: sewing needles are officially permitted on airplanes. According to official transportation security guidelines, you can pack your favorite stitching projects without leaving essential tools behind.
TSA guidelines for sewing needles
The Transportation Security Administration (TSA) classifies sewing needles as essential tools rather than security threats. This practical approach means both hand-sewing and machine needles are generally allowed through security checkpoints. However, the final decision always rests with TSA officers at the security checkpoint.
When traveling with specialized or unique needle types (like those for leatherwork or embroidery), keeping them in their original packaging can help clearly demonstrate their purpose. Furthermore, security personnel might ask you to explain why you’re carrying certain sewing tools, so be prepared to discuss your crafting needs politely.
Carry-on vs. checked baggage rules
You have flexibility when deciding where to pack your sewing supplies:
- Carry-on baggage: Both hand-sewing and machine needles are permitted
- Checked baggage: All types of sewing needles are allowed
In addition to needles, you can also bring knitting needles, crochet hooks, and other needlepoint tools in either carry-on or checked luggage. Nevertheless, certain sewing items face restrictions. Circular thread cutters or any cutting tools containing blades must be placed in checked baggage only. Scissors are permitted in carry-on luggage only if they’re smaller than 4 inches from the pivot point.
Medical needles and exceptions
Medical needles follow slightly different guidelines. If you need injection needles for health purposes, the TSA permits these in carry-on luggage with some specific requirements. Needles and syringes used for medication are allowed through security checkpoints when packed together with the medication they’re used to administer.
For smoother screening, consider these practices:
- Carry documentation from your healthcare provider explaining your medical need
- Inform TSA officers before screening about your medical supplies
- Keep medical needles in their original packaging when possible
As a precaution, always store all needles securely in protective cases to prevent accidental injuries during bag searches and handling. This consideration helps ensure both your safety and that of security personnel examining your belongings.
How to Pack Your Sewing Kit for Air Travel
Packing your sewing supplies correctly makes all the difference between a smooth security check and potential confiscation. Fortunately, with proper preparation, traveling with your favorite sewing tools is straightforward.
Use TSA-compliant storage solutions
Investing in quality storage solutions specifically designed for travel is essential when packing sewing needles for your flight. Hard-shell needle cases or dedicated needle organizers offer protection while preventing accidental pricks during baggage handling. These cases not only keep your needles secure but also help maintain organization throughout your journey.
For enhanced safety, consider using pin cushions or needle minders to keep everything in one place. These simple tools prevent loose needles from becoming a hazard in your luggage or causing injury during security checks.
Keep sharp items secure and visible
Transparency is key when bringing sewing supplies through security. Place all sewing-related items in clear plastic bags whenever possible. This approach allows TSA agents to quickly inspect your items without extensive searching.
Moreover, properly securing sharp objects is crucial regardless of whether they’re in carry-on or checked luggage. The TSA specifically states that “any sharp objects in checked bags should be sheathed or securely wrapped to prevent injury to baggage handlers and inspectors”.
Remember these important guidelines:
- Scissors under 4 inches from the pivot point are allowed in carry-on luggage
- Circular thread cutters or any tools with blades must go in checked baggage
- Blunt-ended sewing needles are preferable for carry-ons to minimize security concerns
Recommended travel sewing kits
Pre-packaged travel sewing kits offer convenience since they’re specifically designed with air travel regulations in mind.The Fiskars Travel Sewing Kit contains 27 pieces including TSA-compliant folding scissors with stainless steel blades. Other manufacturers offer similar “fly-friendly” options containing all essentials within TSA parameters.
First-time travelers might consider having backup solutions. As one experienced traveler notes, bringing a padded envelope and stamps allows you to mail prohibited items back home if they’re unexpectedly rejected at security.
Above all, remember that regardless of guidelines, the final decision about permitted items always rests with individual TSA officers at checkpoints.
International and Airline-Specific Rules
Navigating international airspace with sewing needles requires additional consideration beyond domestic TSA rules. While I’ve covered what’s allowed in the US, flying to or through other countries introduces another layer of complexity.
Why international rules may differ
International regulations for carrying sewing needles vary significantly between countries. Though many international airlines follow guidelines similar to the TSA, each nation maintains its own interpretation of what constitutes acceptable carry-on items. Some countries enforce stricter regulations regarding sharp objects, including common sewing supplies. These differences stem primarily from each country’s unique security protocols and risk assessment procedures.
Additionally, what’s permitted can change unexpectedly. Even if sewing needles are allowed on planes departing from your home country, the destination or connecting countries might have conflicting policies. This inconsistency makes advance research essential for international crafters.
How to check airline and country policies
First, visit your airline’s official website to review their specific policies on sewing supplies. For instance:
- Air Canada permits sewing needles in both carry-on and checked baggage
- Air France recommends placing sharp objects in checked luggage
- Emirates allows sewing needles in hand luggage but suggests using safety covers
Subsequently, check the destination country’s customs and security regulations. To avoid unpleasant surprises, consider contacting your airline directly or reaching out to customs authorities at your destination. Thereafter, keep digital copies of relevant regulations on your phone as reference during security screenings.
Tips for layovers and connecting flights
Connecting flights through different countries create additional complications as each stopover might subject you to new security screenings. Consequently, I recommend:
- Carrying a printed copy of each country’s sewing needle regulations
- Labeling your sewing kit clearly in the local language when possible
- Being prepared to explain your sewing kit’s purpose to security personnel
- Considering temporarily checking your sewing kit during particularly strict layovers
Ultimately, though most security personnel recognize sewing needles as harmless crafting tools, the final decision always rests with the officer conducting the screening. A polite, cooperative attitude goes a long way toward ensuring your sewing supplies make the journey with you.
Best Practices for a Smooth Security Check
Preparing properly for security screening is just as important as knowing what sewing items are allowed on planes. Following these best practices will help ensure your crafting supplies make it through TSA checkpoints without issues.
Label medical items clearly
Medical needles require special attention when traveling. TSA allows larger amounts of medically necessary items, but you must declare them to security officers before screening begins. Primarily, make sure all medicines and medical supplies are clearly labeled with prescription information. When traveling with medical needles:
- Carry documentation from your healthcare provider explaining your medical needs
- Inform TSA officers about your medical supplies before screening starts
- Keep medical needles in their original packaging whenever possible
Remember to have your TSA notification card readily available. In fact, medical documentation is the most important item to have when traveling with medical needles, as it validates your need for these items.
Avoid overpacking sharp tools
Overpacking sharp tools creates safety risks for both you and security personnel. Sewing needles are sharp, and accidents can happen during security checks. To minimize issues:
First, invest in quality needle cases or holders specifically designed for travel. These cases prevent accidental pricks and keep your needles organized.
Second, consider using a pin cushion or needle minder to enhance safety by keeping needles secured in one place.
Third, remember that blunt-ended sewing needles are generally preferred for air travel to avoid potential issues during security checks.
Be polite and cooperative with TSA agents
Ultimately, the final decision about whether an item is allowed through security rests with the TSA officer at the checkpoint. Being polite and cooperative goes a long way toward ensuring a smooth experience.
If asked to open your sewing kit for inspection, comply willingly. Indeed, some airports have mail service, so you might consider bringing a padded envelope and stamps in case you need to mail prohibited items back home rather than surrendering them.
Meanwhile, prepare for the possibility that cheaper notions might need to be left behind, as TSA agents have the final say in what can be carried onto a plane regardless of official guidelines.
Conclusion
Traveling with sewing needles doesn’t have to be stressful or complicated. Throughout this guide, we’ve established that sewing needles are generally permitted in both carry-on and checked luggage according to TSA guidelines. Nevertheless, restrictions still apply to certain sewing tools like large scissors and rotary cutters, which must be packed in checked baggage only.
Safety remains paramount when packing any sharp objects for air travel. Hard-shell cases or dedicated needle organizers offer the best protection and organization for your sewing supplies. Additionally, clear packaging helps security personnel quickly identify your items without extensive searching.
Remember that international travel adds another layer of complexity. Each country enforces its own security protocols, so research becomes essential before flying abroad with your sewing kit. Likewise, airline policies might differ slightly from official government regulations.


Pingback: Can You Use a Sewing Machine Needle To Hand Sew? - Fabrellia