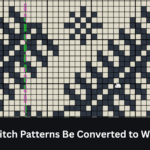
The answer is yes! I’ve discovered that cross stitch patterns can actually work beautifully with crochet projects when you understand the right approach. Each cross stitch on a design corresponds to one crochet stitch, essentially creating a perfect grid for your pattern.
When working with cross stitch on crochet, single crochet works best because each stitch counts as a little square that matches up with your graph. I’ve found that creating a small swatch of about 10-20 stitches by 10-20 rows helps determine your gage. For larger projects like adult-sized blankets, you’ll need to adjust accordingly – I once tripled a 50×50 gage pattern and added 25 rows vertically for better proportions. In this guide, I’ll walk you through everything from choosing the right materials to executing a beautiful cross stitch crochet pattern that combines these two wonderful crafting techniques.
Can You Use Cross Stitch Patterns for Crochet?
If you’ve ever wondered whether cross stitch patterns can work for crochet projects, the answer isn’t simply yes or no – it’s more nuanced. Let me explain why cross stitch patterns can be adapted for crochet, albeit with some important considerations.
Understanding the difference between cross stitch and crochet
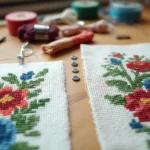
The fundamental distinction between these crafts affects how patterns translate between them. Cross stitch typically uses even-weave fabric like Aida cloth that has evenly spaced holes, creating a perfect grid for stitches. Each square on a cross stitch pattern represents a single X-shaped stitch. The resulting design resembles a pixelated image with clean, aligned rows and columns.
Crochet, however, creates fabric differently. Unlike the perfect grid of cross stitch fabric, crochet stitches generally stagger slightly, especially between rows. This staggering can create challenges when trying to directly transpose a cross stitch pattern onto crocheted fabric.
Why single crochet works best for cross stitch designs
Among all crochet stitches, single crochet provides the closest approximation to the grid-like structure needed for cross stitch patterns. The tight, relatively square shape of single crochet stitches creates a fabric that resembles the grid pattern of traditional cross stitch material.
“I’ve found it most helpful to use single crochet stitches to create my cross stitch crochet fabric as they’re fairly square and easy to see, similar to the grid on traditional cross stitch fabric,” notes one experienced crafter.
Furthermore, working single crochet in tight, dense rows helps maintain the structured grid needed for precise pattern placement. Using a smaller hook than usually recommended for your yarn weight produces this tighter fabric, making it easier to see and work with the cross stitch grid.
When it makes sense to convert a cross stitch pattern
Not all cross stitch patterns translate well to crochet. Simple designs with large, plain backgrounds generally convert most successfully. Intricate patterns with fine details often lose definition or become distorted due to the slightly imperfect grid of crochet fabric.
“The most simple designs often work the best,” confirms one source. This is primarily due to the inherent properties of both crafts – the staggered nature of crochet stitches versus the perfect alignment in cross stitch.
Another consideration is project type. This technique works wonderfully for items where the back side will be hidden – think hats, pillows, or bags. However, for projects like blankets where both sides are visible, the messy appearance of the back might be problematic.
Prior to starting a conversion project, I recommend making a small test swatch, particularly if you’re attempting text or detailed motifs. This allows you to check whether your pattern remains legible and attractive in crochet form before committing to a larger project.
How to Prepare Your Crochet Fabric for Cross Stitch
Preparing the right crochet fabric is essential when adapting cross stitch patterns to crochet. The foundation you create directly impacts how well your cross stitch design will appear on your finished project.
Choosing the right yarn and hook size
Selecting appropriate materials makes a significant difference in your cross-stitching success. First, consider your yarn carefully:
- Choose smooth, non-fuzzy yarns that clearly show stitch definition
- Thinner yarn typically creates better cross stitch surfaces
- Avoid novelty or textured yarns that might obscure your design
For optimal results, use a smaller hook than what’s normally recommended for your yarn weight. This creates a tighter, denser fabric that supports your embroidery stitches better. For instance, if your medium-weight yarn typically calls for a 5mm hook, try using a 4mm hook instead to create a firmer base. Remember that adding embroidery stitches to your crochet fabric will make it substantially firmer and reduce its elasticity.
Making a swatch and measuring gage
Before starting your project, create a small test swatch of approximately 10-20 stitches by 10-20 rows. Subsequently, measure this swatch to determine your gage – specifically, how many stitches fit into one inch horizontally and how many rows fit into one inch vertically.
Once you’ve calculated your gage, you can determine exactly how many stitches and rows you’ll need for your design. For example, if 4 stitches equal 1 inch, you would need 60 stitches to create a piece that’s 15 inches wide. This precise calculation ensures your cross stitch pattern will fit properly on your crochet fabric.
Why single crochet in rows is ideal
Single crochet creates the most suitable foundation for cross stitch embroidery. Each single crochet stitch forms a little square or box that corresponds perfectly with one square on your cross stitch chart. Moreover, the tight, uniform structure of single crochet rows provides stable anchoring points for your embroidery needle.
Unlike other crochet stitches, single crochet maintains relatively equal height and width proportions, resembling the even grid of traditional cross stitch fabric. This structural similarity allows for accurate placement of each X stitch according to your pattern, resulting in cleaner, more defined designs.
Designing or Adapting a Cross Stitch Pattern
Once you’ve prepared your crochet fabric, the next step is creating or adapting a cross stitch pattern that works well for your project. Transforming those pixel-based designs into crochet-friendly patterns requires some adjustments, but the results are worth the effort.
Using graph paper or StitchFiddle.com
For creating cross stitch crochet patterns, you have both analog and digital options:
- Graph paper method: Tape a few sheets together to create your grid. Mark squares with “X”s to count stitches easily, leaving the background blank to reduce confusion.
- Excel spreadsheet: Resize cells into little squares (15×15 pixels works well) with dotted line outlines. This lets you add row and stitch count numbers along the edges for quick reference.
- StitchFiddle.com: This free online tool is specifically designed for creating crochet and cross stitch patterns. It allows you to start with empty charts or convert images into patterns, making it ideal for beginners and experienced crafters alike. The intuitive interface lets you quickly adjust colors and pattern size while saving multiple versions.
How to scale a pattern for crochet
Scaling patterns correctly ensures your design maintains its proportions. Consider each square on your cross stitch chart as one single crochet stitch. When enlarging a pattern, multiply consistently—for instance, tripling a 50×50 pattern would make it 150×150.
Write down your scaling calculations so you don’t forget them during breaks. For adult-sized blankets or rugs, you might need to add rows or stitches. Simply enlarge in areas that won’t affect the main design.
Tips for centering your design on the fabric
Finding the center point is crucial for balanced designs. Fold your crocheted fabric in half both ways, then mark the center stitch where creases meet with a piece of contrasting yarn.
Similarly, identify the center of your pattern and work outward from there. For text or names, consider the orientation and leave space around edges so designs don’t bump against borders.
Avoiding distortion in complex designs
Complex patterns require special attention to maintain their integrity:
Start with the center of detailed designs and work outward, making adjustments as you go. For curves and angles, use this rule of thumb: if at least half the square falls within the design border, include it.
While choosing fonts, remember you’re essentially drawing with little boxes. Thick, bold fonts typically work better than delicate, curly ones which may appear distorted or pixelated when crocheted. Break down tricky patterns into smaller parts to maintain focus and clarity throughout your project.
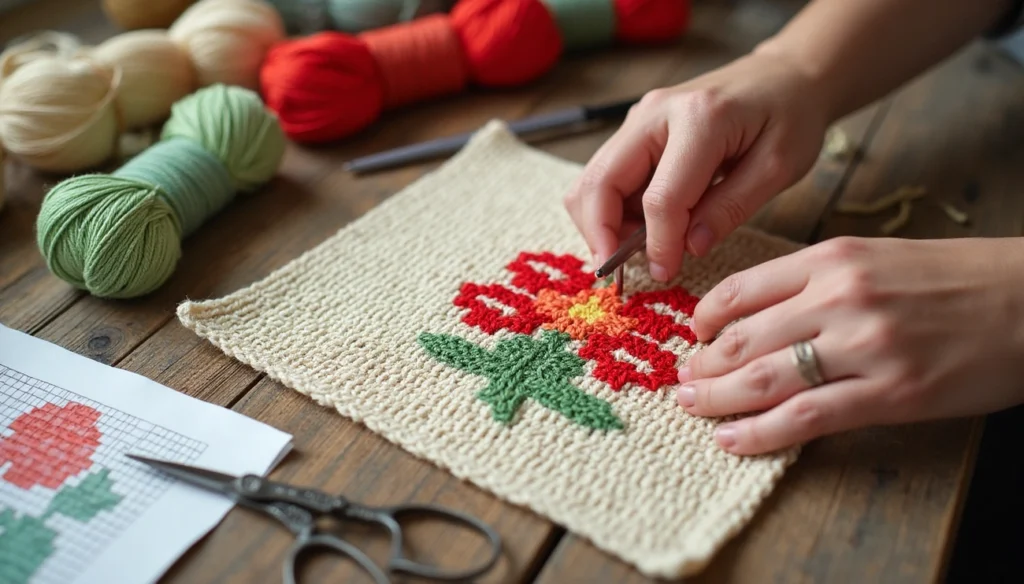
How to Cross Stitch on Crochet Fabric
Now that your fabric and pattern are ready, it’s time to dive into the actual cross stitching process. The technique requires precision, yet remains surprisingly simple once you master a few fundamentals.
Threading and securing your yarn
Initially, cut a manageable length of yarn or embroidery floss – approximately an arm’s length works best. Using longer pieces often leads to tangling and frustration. Thread your blunt-tipped tapestry needle, possibly doubling the yarn if you need fuller-looking stitches. To secure without knots, insert your needle from the back, leaving a small tail that you’ll later weave in as you work.
Making consistent X stitches
Consistency creates professional-looking results. Each single crochet stitch represents one square on your cross-stitch grid. To make your first stitch:
- Come up from the back at the bottom left corner of your first stitch
- Go down at the top right corner
- Come back up at the top left corner
- Go down at the bottom right corner, completing your X
Always cross your stitches in the same direction throughout your entire project. This seemingly small detail significantly impacts the overall appearance.
Color switching without tangling
When changing colors, finish your current section completely rather than carrying yarn across the back. Cut the old color, leaving enough tail to weave in securely. Thread your needle with the new color and begin in the appropriate location. This method prevents yarn from pulling or tangling across your work.
Working row by row for clean results
Methodically work one row at a time rather than jumping between areas. First, complete all the initial diagonal slants in one direction across a row. Afterward, work back across to complete the crosses. This systematic approach creates neater results and helps maintain even tension throughout.
What to do with the back of your work
Truthfully, the back of cross-stitched crochet typically looks messy – and that’s perfectly acceptable for most projects. This technique works best for items where the back will be hidden, such as hats, pillows, or wall hangings. For visible backs, consider adding a fabric backing to conceal the reverse side.
Conclusion
Cross stitching on crochet fabric blends two beloved crafting techniques into one beautiful art form. Throughout this article, we’ve seen that cross stitch patterns certainly work for crochet projects when approached correctly. Single crochet creates the ideal foundation because of its square-like structure that mimics traditional cross stitch grids.
Making a swatch before starting your project helps determine gage and ensures your design will translate properly. Additionally, selecting smooth yarns and using a smaller hook than typically recommended creates the tight, even fabric necessary for clean cross stitch work.
Simpler designs generally yield better results when transferred to crochet. Consequently, you might want to start with basic patterns before attempting intricate designs. Tools like StitchFiddle.com make the adaptation process much easier, especially for beginners trying this technique for the first time.