Yes, tape measures can be inaccurate due to wear, poor quality, or user error. Common causes include bent or loose end hooks, faded markings, stretching tape, or misalignment. Over time, even good-quality tapes may degrade, making them less reliable for precise measurements.
Common problems with tape measure accuracy
Many professionals assume their measuring tools are flawless, but the reality might shock you. Tape measures harbor several inherent flaws that can compromise your project’s success.
Inconsistent readings between tapes
The most frustrating problem occurs when comparing different tape measures. Shop workers report finding discrepancies of up to 1/16 inch between two tapes of the same brand measuring the same 36-inch distance. Furthermore, manufacturers admit that tape accuracy can drift throughout the length of the tape—reading perfectly at 24 inches but then being short or long by 1/16 inch at longer measurements.
Environmental factors dramatically affect accuracy as well. Metal tapes expand and contract with temperature fluctuations, creating subtle but significant measurement errors. Tension also matters—the amount of pull you apply when measuring changes the reading.
Perhaps most concerning, manufacturing standards allow tape measures to vary by ±1/16 inch, with measurements drifting between positive and negative variations across the length of the tape.
User errors in reading measurements
Beyond the tools themselves, human error contributes significantly to measurement problems. Novice workers often misinterpret the fractional markings on tape measures—confusing 7-5/8, 7-11/16, and 7-25/64. This confusion becomes especially problematic when measuring with precision.
Another common mistake involves improper handling. Many beginners fail to “bury” the first inch of the tape measure, which can produce an error margin of 1/16 inch. Parallax errors happen too—looking at measurements from an angle rather than directly above creates consistent misreadings.
Impact of left vs right-handed use
Despite around 10% of the population being left-handed, most tape measures are designed exclusively for right-handed users. When a right-handed person holds the tape in their left hand and marks with their right (the typical approach), the numbers actually appear upside down.
For left-handed users, this presents a significant challenge—is that a 9 or a 6 when reading upside down? This seemingly minor design oversight has caused professionals to make costly mistakes throughout their careers.
The solution many professionals adopt is simple yet effective: maintain consistency by using only one tape measure throughout an entire project. This ensures that even if the tape itself has flaws, all measurements share the same consistent error.
Real-world consequences of inaccurate tape measures
The financial and structural fallout from using inaccurate tape measures extends far beyond minor annoyances. Just one small measurement error can create a cascading effect throughout an entire project.
Cabinetry and woodworking issues
Precision matters tremendously in woodworking. When cabinet measurements are off by even 1/64 inch, the results can be disastrous. Inaccurate shop drawings lead to wasted materials, driving up costs and extending project timelines. Cabinet installers report that measurement errors rank as the #1 cause of project delays in kitchen renovations. Moreover, miscalculating ceiling height can lead to standard-size cabinets looking disproportionately small in high-ceilinged spaces.
One veteran woodworker admitted struggling with an imperfectly calibrated tool for years before realizing it hadn’t actually affected his projects’ final quality. Yet others aren’t so fortunate—custom cabinet makers who produce components at the wrong size often face disputes with clients when the finished product doesn’t match specifications.
Construction misalignments
In construction, the stakes become even higher. Measurement errors can compromise structural integrity, potentially leading to accidents, injuries, or catastrophic failures. Incorrectly measured roof trusses might be too short or too long, requiring complete redesigns and wasted materials.
Perhaps most alarming, safety hazards emerge when measurements lead to structural instability. The French national rail operator learned this lesson expensively when they built trains too wide for 1,300 stations—a miscalculation costing over €50 million.
Costly errors in team-based projects
Financially, measurement inaccuracies create significant burdens. Construction firms report that 42% cite misinformation as the primary factor limiting performance, while 68% identified dealing with rework as their biggest time-waster on site.
Project budgets typically allocate 60% to labor costs, making time lost to measurement corrections particularly expensive. Consequently, measurement errors lead to:
- Delays as teams rectify mistakes
- Overestimation or underestimation of materials
- Increased shipping and labor costs when additional materials must be ordered
Ultimately, as one architect discovered on a high-rise project, even a single stretched and frayed tape measure can cause misalignments between floors that require costly structural modifications.
How to test and compare tape measures
Discovering your tape measure is inaccurate after completing a project is frustrating, but fortunately, there are simple tests to verify accuracy before starting work. These testing methods will help ensure your measurements remain consistent throughout your project.
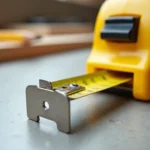
Push/pull test with a jig
The most reliable way to test tape measure accuracy is with a push/pull test using a calibration jig. You can create one by taking a 3″ x 3″ x 1″ piece of stable material (like UHWM plastic) and cutting a 1″ dado exactly down the middle, approximately 1/2″ deep. This jig allows for consistent testing of both pushing and pulling measurements.
To perform the test:
- Hook the tape’s end in the top slot and push against it
- Check if the measurement aligns with the 6-inch mark
- Hook the end in the bottom slot and pull against it
- Verify if it also aligns with the 6-inch mark
If both measurements match, your tape is properly calibrated. However, misalignment indicates inaccuracy, often caused by bent hook tabs, adhesive buildup, or loose rivets.
Using a master tape for calibration
Professional workshops often designate one tape measure as the “master” against which all others are verified. Ideally, choose a brand-new Lufkin or Stanley tape measure as your master, since these manufacturers produce tapes verified against international standards under ISO 9001 certification programs.
For ISO-certified businesses, establishing procedures that require using a certified tape as a master is advisable. Keep the receipt of your master tape as proof of calibration and mark all working tapes with “use by” dates (typically two years from the verification date).
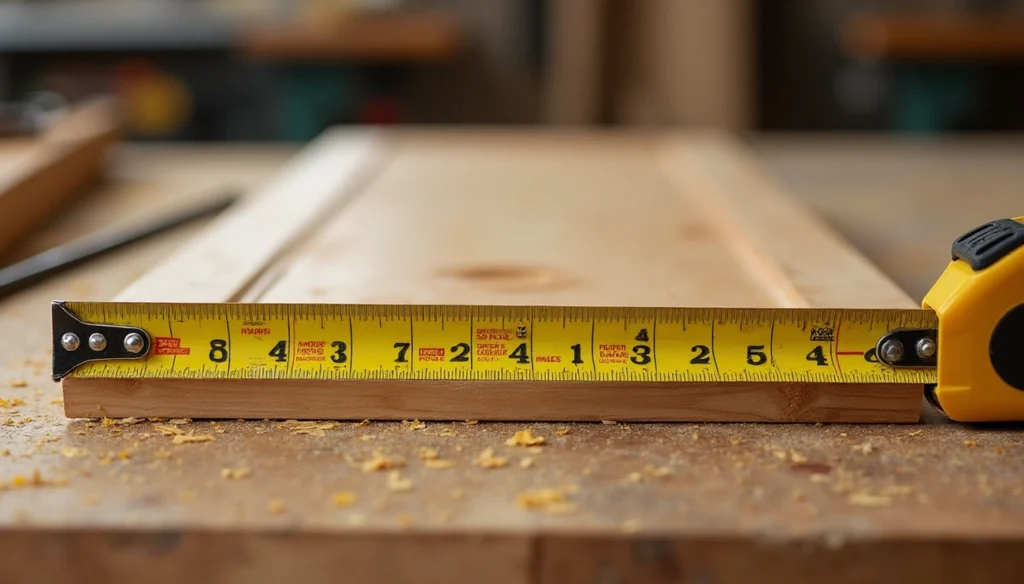
Checking at multiple lengths (2′, 4′, 6′)
A single verification point isn’t enough to ensure accuracy throughout a tape measure’s length. Notably, even high-quality tapes can develop inconsistencies at different points. Professional woodworkers recommend checking accuracy at multiple intervals – typically 2′, 4′, 6′, and 8′.
When testing, look carefully at the end tab’s movement, which should be precisely the thickness of the tab itself (typically 1/32″). This movement is intentional, allowing the tab to adjust for both inside and outside measurements. Greater movement indicates a potentially inaccurate tape measure.
For critical projects requiring tight tolerances, consider rejecting any tape measure that’s off by more than 1/32″ at any verification point. Ultimately, consistent verification ensures your projects proceed with confidence rather than costly surprises.
Best practices for choosing and using tape measures
Consistently accurate measurements begin with selecting the right tape measure and maintaining it properly. Following these best practices will help you avoid the pitfalls of inaccurate measurements and ensure your projects succeed.
Stick to one brand or model per project
Experienced professionals rely on a simple yet effective strategy: use identical tape measures throughout a single project. Professional furniture makers often work with two matched tapes—one in their apron pocket and another as a “floater” that moves around key locations. During team projects, everyone should use the same model to prevent measurement discrepancies. Otherwise, the cumulative effect of different tape measures can create significant misalignments as work progresses.
To implement this approach effectively, purchase multiple identical tapes simultaneously, test them against a standard, and mark them as project-specific. In case you’re curious, many master craftspeople actually mark their tapes with purchase dates to track when recalibration might be necessary.
Invest in Class 1 or digital alternatives
The European classification system offers a practical way to identify precision: Class I tape measures provide the highest accuracy with an error margin of no more than ±1.1 mm over 10 m, whereas Class II tapes allow for ±2.3 mm deviation. For critical projects requiring tight tolerances, Class I is non-negotiable.
Digital alternatives represent another option for ensuring accuracy. Modern digital tape measures offer precise readings without the interpretation errors common with traditional markings. Nonetheless, regardless of which type you select, verify its accuracy before beginning any project.
Store and handle tapes with care
Your tape measure’s lifespan depends largely on how you treat it. First off, never let the tape blade snap back uncontrolled into the case—this damages the inner workings and the end hook. Instead, guide it back slowly.
After each use, wipe down the blade with a clean, lint-free cloth to prevent rust and debris buildup. Keep your tape measure away from moisture, direct sunlight, and extreme temperatures that can cause the blade to expand or warp.
Finally, perform regular checks on the hook movement (it should have slight play—about 1/32″), inspect for blade damage, and verify marking legibility.
Conclusion
Ultimately, the humble tape measure deserves more scrutiny than most of us give it. Throughout this article, we’ve seen how these seemingly simple tools can harbor significant inaccuracies—sometimes by design, sometimes through wear and tear, and often through improper use.
Accuracy matters tremendously. Even small measurement errors cascade into expensive mistakes, wasted materials, and frustrating rework. Professionals stake their reputation on precision, while DIYers can save themselves countless headaches by understanding these fundamentals.
Consequently, testing your tape measures before starting projects becomes essential, not optional. The push/pull test with a jig provides a reliable verification method anyone can implement. Additionally, designating a master tape for reference ensures consistency across multiple measuring tools.