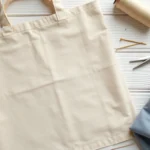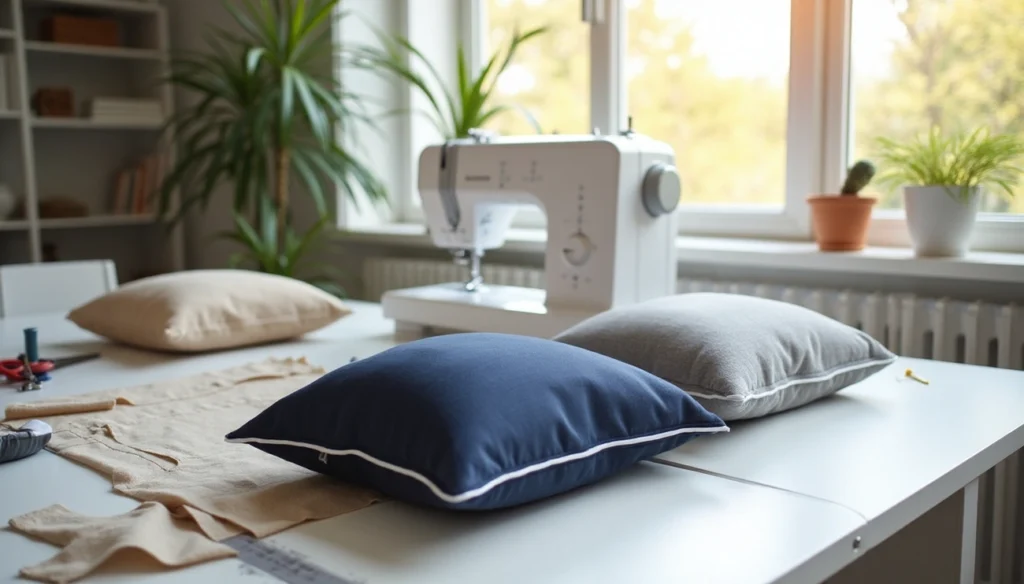
Sewing your own cushion covers is a simple and rewarding way to update your home décor without buying new furniture. Whether you want to refresh old cushions, match seasonal styles, or customize fabrics and sizes, learning how to sew cushion covers gives you complete creative control. With just basic sewing skills and a few tools, you can create professional-looking cushion covers using different closures like envelope backs, zippers, or buttons. This guide walks you through the process step by step, making it easy for beginners and experienced sewists alike.
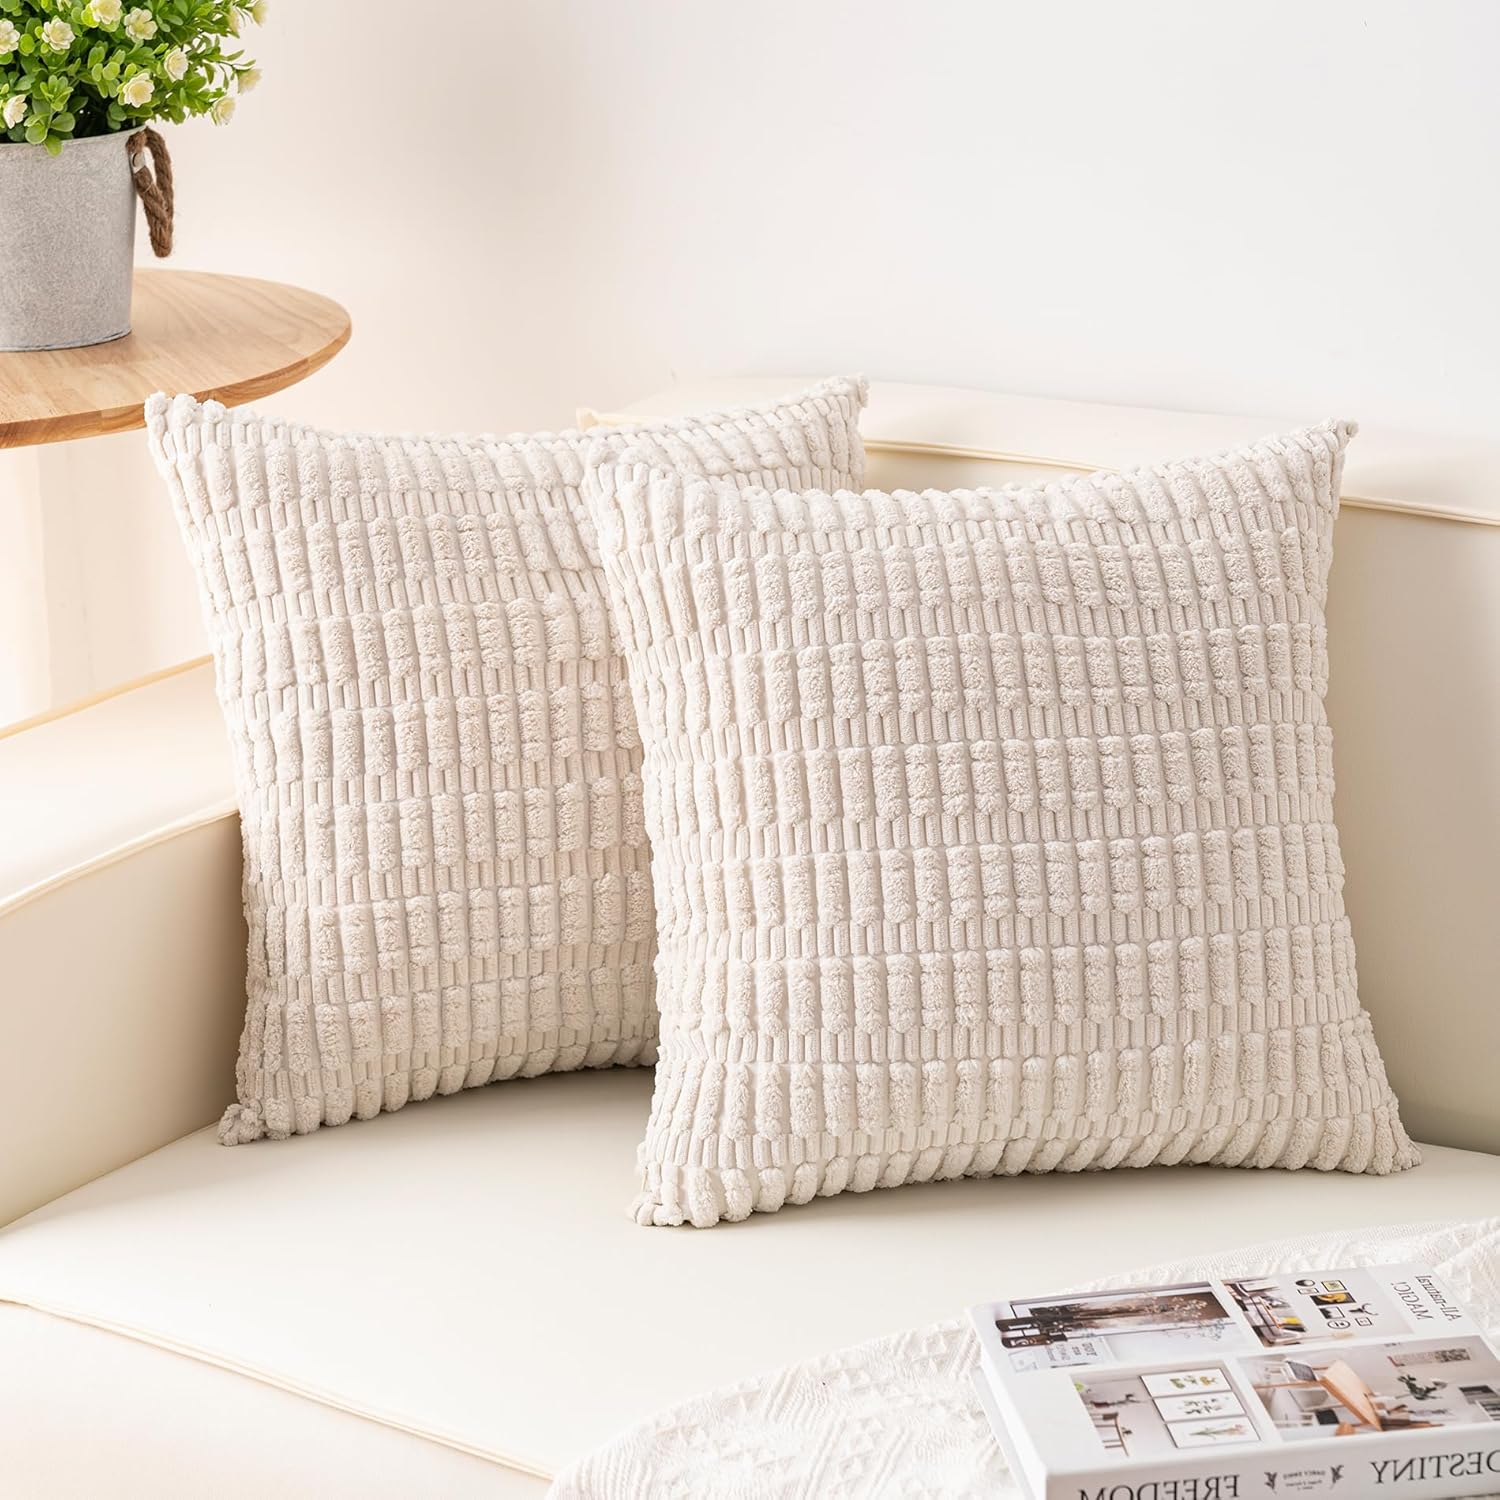
Aegero Pack of 2 Corduroy Decorative Throw Pillow Covers 18×18 Inch
2 pcs18*18 inch pillow covers made of premium corduroy(NO INSERT).Perfectly fit for the same size pillow insert.Suitable for indoors.
Check PriceEnvelope, Zippered, & Piped covers
Envelope Covers: These utilize overlapping fabric panels to create a secure pocket for your cushion insert. The design is clean and minimalistic, making it perfect for beginners learning how to sew cushion covers. Unlike other styles, envelope covers contain no hardware that might cause discomfort when leaning against the cushion.
Zippered Covers: This style incorporates a discreet zipper along one side, providing exceptional security for the cushion insert. The hidden zipper design creates defined corners and a more tailored appearance. Moreover, zippered cushion covers allow patterns to be seamlessly displayed on both sides, making them ideal for decorative purposes.
Piped Covers: Piping is a fabric-covered cord that runs along the cushion edges. It adds a decorative finish while effectively concealing seams. Piping gives cushions a refined, traditional look, especially when working with multiple fabric pieces. Alternatively, cushions without piping offer a sleeker, modern appearance better suited for minimalist designs.
When to use each type of cushion cover
Choose envelope covers when:
- You’re new to sewing cushion covers
- You prefer a hardware-free surface for comfort
- You want quick and hassle-free cushion insert removal
- You’re working with plump cushion inserts that need extra give
Opt for zippered covers when:
- You move frequently during sleep or use (prevents slippage)
- You desire a more classic, tailored appearance
- You’re using printed fabrics that should be visible on both sides
- You need to regularly remove covers for cleaning
Select piped covers when:
- You want to achieve a professional, high-end look
- You’re working with multiple fabric pieces and need to conceal seams
- You’re aiming for a traditional, refined esthetic
- You need to add structure and definition to cushion edges
Although zippered cushion covers provide the most secure fit, they require more sewing skill to execute properly. Conversely, envelope-style covers are more beginner-friendly while still offering a polished appearance. The choice ultimately depends on your sewing experience, cushion usage, and desired esthetic.
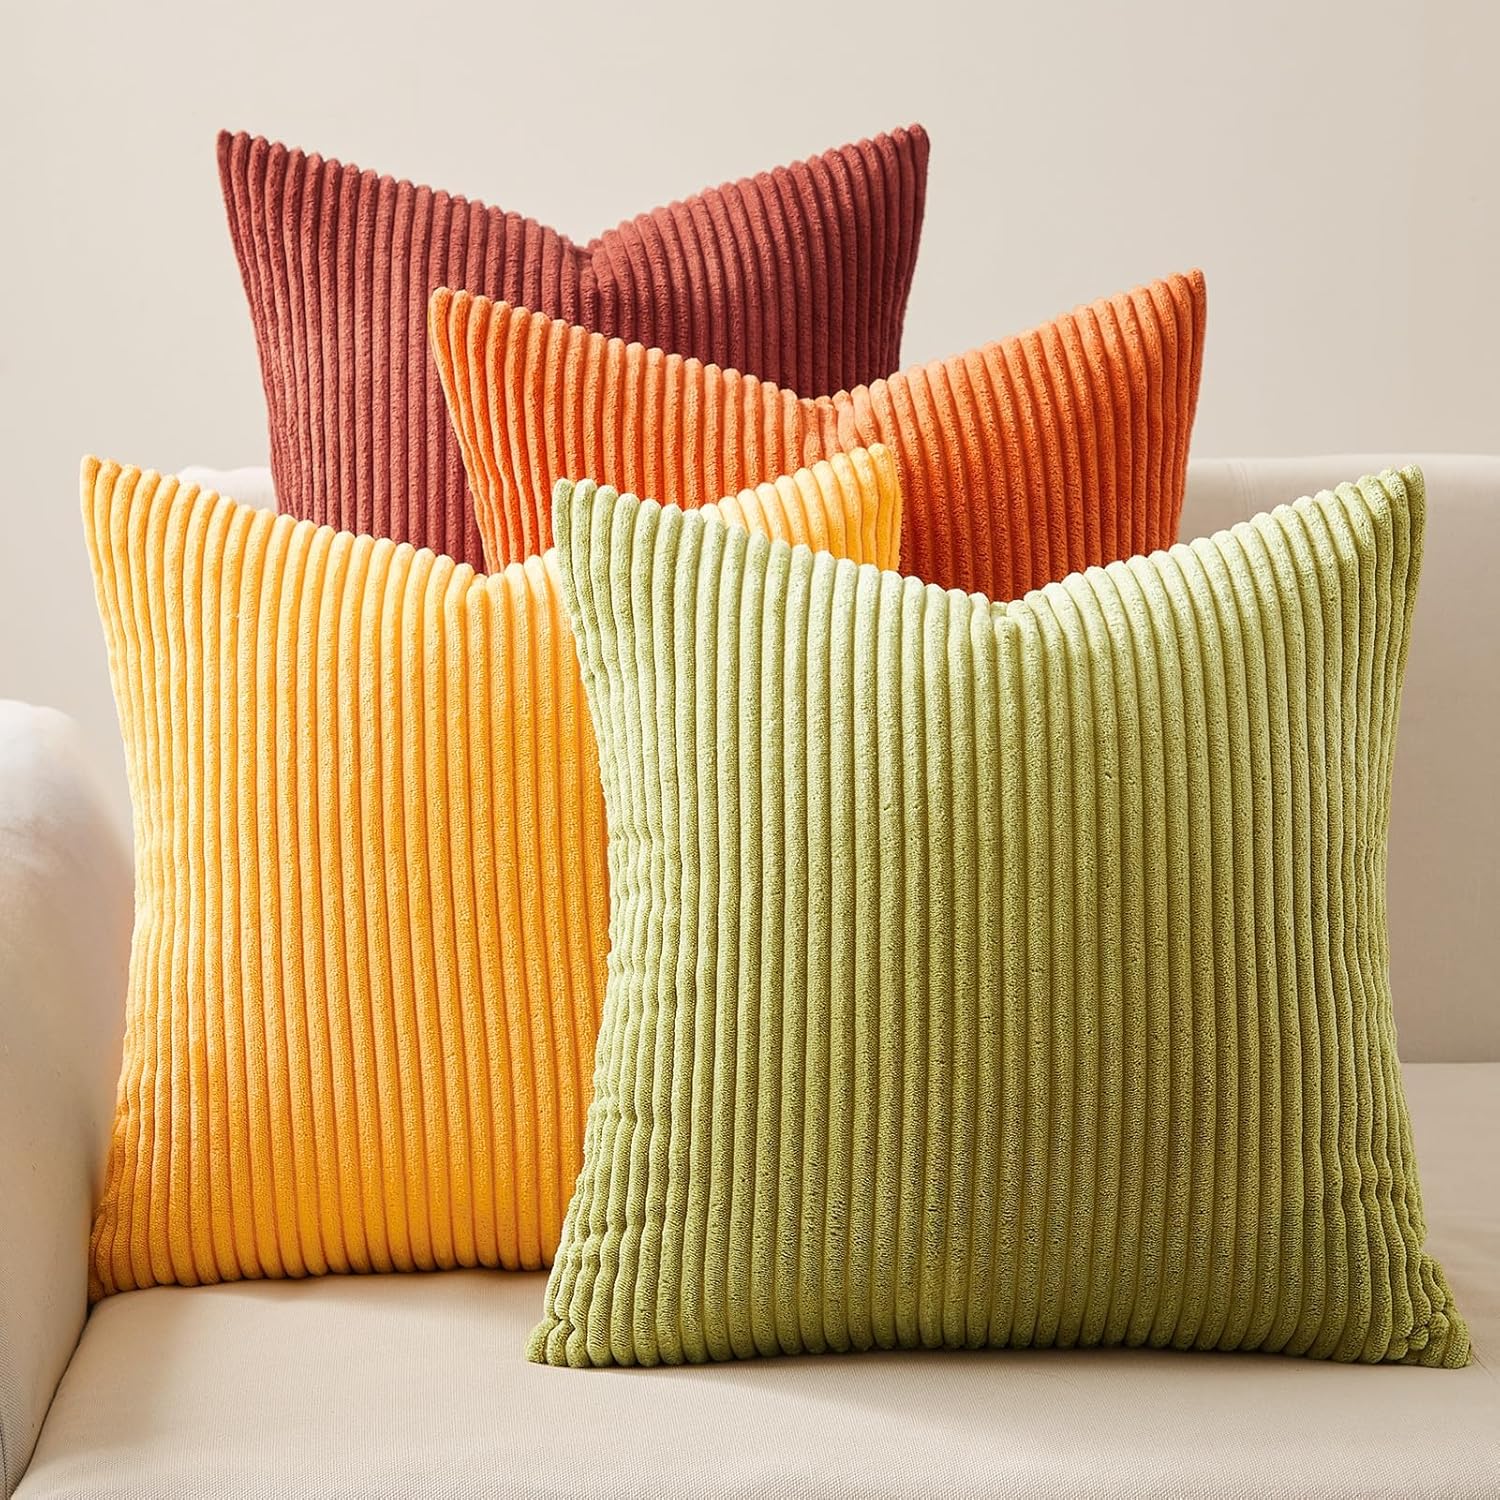
Topfinel Fall Burnt Orange Decorative Throw Pillows Covers 18×18 Inch
4 pieces 45 x 45 cm pillowcases without pillow filling.Made of soft corduroy.very eco-friendly.durable. Without unpleasant odor.The pillowcases are skin-friendly and ideal for children.also pets
Check PriceEnvelope Cushion Cover
The envelope cushion cover stands out as the simplest cushion-making technique, requiring minimal sewing skills and no zippers or buttons. Initially, I was intimidated by sewing projects, but this method changed everything for me.
Cutting fabric for envelope style
To create a perfect envelope cover, accurate measurements are crucial. For a square pillow, measure from seam to seam, then add 1 inch to both dimensions for your front piece. For the back pieces, you’ll need two smaller panels that overlap:
- For square pillows: Cut one piece at pillow size+1 inch for the front. Cut two pieces at pillow size-6 inches for the back.
- For rectangular pillows: Cut one front piece at pillow size+1 inch. Cut two back pieces at pillow size-10 inches.
Many experienced sewers follow this formula: width equals pillow size plus ½ inch, while length equals (pillow size × 2) plus 8 inches. Subsequently, this creates a single piece that can be folded appropriately.
Hemming and folding the back panels
Once your fabric is cut, it’s time to create neat hems on the back panels:
- Lay your back panel wrong side up on your ironing board
- Fold one edge over ¼ inch and press with an iron
- Fold again by 1 inch and press firmly
- Sew along the folded edge approximately ⅛ inch from the inside edge
- Repeat this process for the second back panel
Indeed, this double-fold technique creates a clean, professional finish with no raw edges showing. For easier hemming, consider using a hot ruler that stays in place while ironing.
Sewing and finishing the edges
Accordingly, once your pieces are prepared:
- Place your front piece right side up
- Position one back piece right side down, aligning raw edges
- Position the second back piece so it overlaps the first piece
- Pin all layers together, paying special attention to the overlap
- Sew around all four sides using a ½-inch seam allowance
- Clip the corners to reduce bulk
Finally, turn your cover right side out through the envelope opening and use a chopstick to push out the corners. Press the seams for a crisp, professional finish. Consequently, you’ll have a beautiful, custom-fit cover ready for your cushion insert.

SYSLOON Decorative Throw Pillow Covers 16×16 Inch Set of 2
Made from high-quality polyester, these pillow covers offer a soft, durable, and luxuriously comfortable feel. Ideal for snuggling on the couch or relaxing in bed.
Check PriceCushion Covers with Zippers
Adding a zipper to your cushion cover creates a professional finish while making it easier to remove and wash your cushion insert. With proper technique, even beginners can master this slightly more advanced method.
Cutting and preparing fabric pieces
For a zippered cushion cover, you’ll need to cut your fabric precisely. First, measure your cushion insert from seam to seam both horizontally and vertically, afterward adding 1 inch to each measurement. For example, if your cushion is 45×45cm, cut two fabric pieces at 46×46cm for a snug fit.
Unlike envelope covers, zippered versions typically use two equal-sized pieces of fabric—one for the front and one for the back. Therefore, if you’re working with patterned fabric, ensure the pattern direction matches on both pieces.
Prior to sewing, check that your fabric edges are straight and even. Next, lay both pieces right sides together, aligning the bottom edges precisely where your zipper will go.
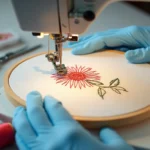
Installing a zipper with a zipper foot
The zipper should be at least as long as the bottom edge of your cushion. For instance, if your finished cushion is 43×43cm, choose a 43cm zipper.
To install the zipper:
- Machine-baste along the bottom edge where the zipper will go, using a long stitch
- Press this seam open with an iron
- Place the zipper face down on the wrong side of the fabric, centering it along the seam
- Pin through all layers, securing the zipper tape to the seam allowance only
- Attach your zipper foot to your sewing machine
- Sew close to the zipper teeth on both sides, starting 3cm from the top
Throughout this process, you’ll need to stop sewing when you reach the zipper pull, lift the presser foot with the needle down, move the zipper pull out of the way, simultaneously ensuring the fabric stays properly aligned.
Sewing the panels together
Once your zipper is installed, open it halfway—this crucial step allows you to turn the cover right side out later. Meanwhile, fold your cushion right sides together and align all edges.
Pin around the remaining three sides, paying special attention to the corners. Henceforth, sew around all sides using a ½-inch seam allowance, pivoting at each corner with the needle down.
For a professional finish, trim the corners diagonally to reduce bulk, furthermore finish the raw edges with pinking shears or a zigzag stitch to prevent fraying. Turn your cover right side out through the open zipper, push out the corners for sharpness, insert your cushion, and close the zipper.
Piped covers
Piping is that special detail that elevates homemade cushion covers to professional-looking creations. This fabric-covered cord creates clean edges and adds a touch of sophistication to your projects. Regardless of your experience level, mastering this technique will transform your sewing skills.
Making your own piping
Creating custom piping allows you to perfectly match or contrast with your cushion fabric. To begin, you’ll need:
- Fabric strips (cut on the bias for flexibility around corners)
- Piping cord
- Matching thread
For most cushions, cut your fabric strips wide enough to wrap around the cord plus your seam allowance. Primarily, the width should be (cord width + seam allowance) × 2. For example, with 1/8″ cording and a ½” seam allowance, cut strips 1¼” wide. Next, place the cord in the center of your fabric strip, fold the fabric over it, and align the raw edges. Using a zipper foot, stitch close to the cord without sewing into it.

H.VERSAILTEX Super Stretch Individual Seat Cushion Covers Sofa
Slipcover Set of 3. This innovated cushion slipcover is crafted from durable and soft high stretch knitted jacquard fabric. Sofa Seat Cover(fit total sitting area between 58.8-88.5 inches).
Check PricePinning and sewing piping around edges
Once your piping is ready, pin it around your cushion cover front with raw edges aligned to the fabric edge. At corners, make several small snips into the piping’s seam allowance up to 1mm from the cord seam. This allows the piping to curve smoothly around corners without bunching.
After pinning, sew the piping to the front piece using a zipper foot or piping foot. Certainly, stitch as close to the cord as possible without stitching into it. For a professional join where the ends meet, either overlap the ends or create an invisible join by feeding one end inside the other.
Combining piping with a concealed zip
For the ultimate professional finish, pair piping with an invisible zipper:
- Sew piping to the front cushion piece first
- Mark 3cm from corners on both front and back pieces
- Open the invisible zipper and place it along the bottom edge of the back piece
- Baste the zipper in place between your marked points
- Switch to a concealed zipper foot and sew properly between the marks
- Repeat for the other side of the zipper, flattening the piping as you go
Essentially, when sewing the final seams, keep your stitching line as close to the piping cord as possible. This creates that crisp, defined edge that gives store-bought cushions their polished appearance.
Common Mistakes and How to Avoid Them
| Issue | Likely Cause | Fix |
|---|---|---|
| Cover too tight | Didn’t include seam allowances or cushion height | Recalculate dimensions: cushion size + seam allowances. Consider adding ½–1″ overall. |
| Cover baggy | Too much ease added | Next time cut closer to actual cushion size, or reduce seam allowance slightly. |
| Wavy zipper | Pulled fabric while sewing, no pressing | Baste first, don’t stretch fabric, press seam open before sewing zipper. |
| Fraying seams | Raw edges left unfinished | Use zigzag stitch, pinking shears, or an overlocker along seam allowances. |
| Corners not sharp | Didn’t trim corner excess | Trim diagonally close to seam and use a blunt tool to push corners out. |
FAQs
What fabric is best for cushion covers?
Cotton, linen, canvas, and upholstery fabrics are ideal for cushion covers. Cotton and linen are easy to sew and breathable, while canvas and upholstery fabrics offer more durability for everyday use.
Do I need a sewing machine to sew cushion covers?
A sewing machine makes the process faster and more professional, but cushion covers can also be sewn by hand using a strong stitch, especially for small projects or simple envelope-style covers.
How much fabric do I need for a cushion cover?
The amount of fabric depends on the cushion size and closure style. Generally, you’ll need enough fabric to cover the front and back panels plus extra for seam allowances and closures.
What is the easiest cushion cover style for beginners?
Envelope-style cushion covers are the easiest for beginners. They don’t require zippers or buttons and can be completed quickly with basic sewing skills.
How do I measure a cushion for a perfect fit?
Measure the cushion’s width and height from seam to seam. For a snug fit, cut fabric the same size or up to ½ inch smaller on each side before adding seam allowances.
Should cushion covers be washable?
Yes, most cushion covers should be washable, especially for everyday use. Pre-wash your fabric before sewing to prevent shrinkage later.
How do I add a zipper to a cushion cover?
Zippers are usually sewn into one edge of the cover before assembling the remaining sides. Using an invisible or regular zipper foot helps achieve a clean finish.
Can I sew cushion covers without a zipper?
Yes, envelope backs, button closures, or tie closures are great alternatives to zippers and are easier to sew.
What seam allowance should I use?
A standard ½-inch seam allowance works well for cushion covers. For thicker fabrics, you may want to use a slightly wider seam for strength.
How do I make cushion covers look professional?
Press seams as you sew, use matching thread, finish raw edges, and ensure accurate measurements for a polished, store-quality look.
Conclusion
Sewing your own cushion covers offers a rewarding way to personalize your home decor while saving money. Throughout this guide, we’ve explored three distinct methods—envelope, zippered, and piped covers—each with unique advantages depending on your skill level and design preferences.
Whether you choose the beginner-friendly envelope style for quick results or challenge yourself with piping for that professional edge, accurate measurements remain essential for success. Additionally, small details like proper corner trimming, seam allowances, and fabric preparation make significant differences in your finished product.
My journey with cushion covers began just like yours might—with simple envelope designs that built my confidence. Eventually, I worked up to zippered versions and finally added piping techniques to my repertoire. Undoubtedly, each new skill improved my overall sewing abilities beyond just cushion making.