To create an easy apron sewing pattern, start by choosing a breathable fabric like cotton or a durable canvas for heavy-duty tasks. Gather essential tools like sharp fabric scissors and a reliable sewing machine. You can design your apron with color blocks or oversized pockets for practicality. Follow straightforward sewing instructions, ensuring clean edges and using basic stitches. Don’t worry, there’s so much more to explore to personalize your apron and enhance its functionality!
Choosing the Right Fabric for Your Apron
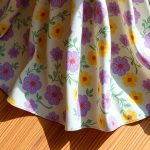
When it comes to choosing the right fabric for your apron, what should you consider to guarantee it meets your needs? Start by exploring various fabric types. Cotton is breathable and easy to clean, while canvas offers durability for heavy-duty tasks. If you’re feeling adventurous, consider linen for a chic, textured look.
Next, think about your color choices. Bright hues can add fun and personality, while darker shades hide stains better. Patterns can also make your apron stand out, so don’t shy away from florals or geometric designs! Ultimately, it’s about balancing aesthetics with practicality. Remember, your apron should reflect your style while serving its purpose effectively. Choose wisely, and you’ll create a piece that’s both functional and fashionable!
Essential Tools and Supplies for Sewing
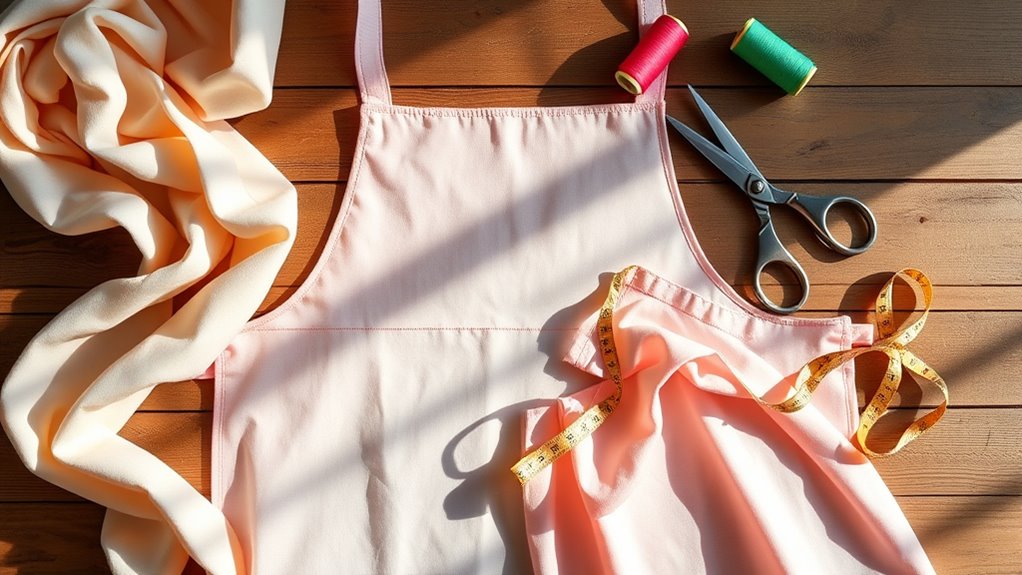
After selecting the perfect fabric for your apron, it’s time to gather the tools and supplies that will make your sewing experience smooth and enjoyable.
First, make certain you have a reliable sewing machine—this will be your best friend throughout the process.
Next, grab a pair of sharp fabric scissors; they’ll help you cut cleanly, avoiding any frayed edges. You’ll also need pins to hold your pieces together while you sew, and a measuring tape for accuracy.
Don’t forget a seam ripper—mistakes happen, and this tool will save you time. Finally, keep some coordinating thread handy to match your fabric. With these essentials, you’re all set to create a beautiful apron! Happy sewing!
Simple Apron Design Ideas
Creating an apron can be a fun adventure, and you don’t need to complicate things with intricate patterns. Instead, think about merging vintage aprons with modern styles for a unique twist. Here are three simple design ideas you can try:
- Color Block: Combine bold colors or patterns to create a striking contrast that pops in your kitchen.
- Pocket Placement: Add oversized pockets in unexpected spots, like the sides, for a practical yet stylish touch.
- Adjustable Straps: Use a simple tie or buckle system for your neck straps, allowing for comfort and easy wear.
These straightforward designs will not only elevate your apron game but also make cooking more enjoyable!
Step-by-Step Sewing Instructions
To start your apron sewing adventure, gather your materials: fabric, scissors, pins, a sewing machine, and thread that matches your chosen colors.
First, choose your fabric patterns; playful prints or solid colors can set the tone. Cut your fabric according to the apron pattern, ensuring smooth edges.
Next, pin the fabric pieces together, carefully aligning the edges. Use basic sewing techniques, like straight stitches, to join the pieces. Remember to backstitch at the beginning and end for durability.
Once assembled, press your seams flat for a polished look. Finally, hem the edges to prevent fraying and give your apron a finished appearance. Step back, admire your handiwork, and get ready to rock your new apron!
Adding Pockets and Personal Touches
Adding pockets to your apron not only enhances its functionality but also gives you a chance to showcase your personal style. When considering pocket placement, think about where you’ll need easy access while working. Here are three key ideas to help you personalize your apron:
Incorporating pockets into your apron boosts functionality and allows for personal style expression. Consider placement for easy access while working.
- Front Pockets: Opt for large, spacious pockets on the front for storing utensils or your phone.
- Side Pockets: These can be great for quick access to spices or tools while cooking.
- Fabric Embellishments: Add some flair with embroidered designs, buttons, or patches that resonate with your personality.
Tips for Adjusting the Fit
While a well-designed apron can boost your confidence in the kitchen, ensuring it fits just right is essential for comfort and functionality.
Start by measuring your bust, waist, and hips accurately; this’ll guide your size alterations. If the apron feels too tight or loose, consider fit adjustments like altering the straps or side seams. For a snug fit, you might want to take in the sides, while adding extra fabric can accommodate layering.
Don’t forget to test the fit while moving—cooking requires mobility! Finally, always sew with a little extra seam allowance; it makes future adjustments easier. With these tips, you’ll create an apron that not only looks great but feels like it was custom-made for you.
Caring for Your Handmade Apron
To keep your handmade apron looking fabulous, you’ll want to follow some simple care instructions. Start with gentle washing techniques, tackle any stubborn stains with effective removal tips, and don’t overlook the best ways to store it when it’s not in use. With just a little effort, your apron will stay as vibrant and functional as the day you finished sewing it!
Washing Instructions
When it comes to caring for your handmade apron, following the right washing instructions can guarantee its longevity and vibrant appearance. Here are some essential washing techniques to keep your apron looking fresh:
- Gentle Cycle: Use a cold water setting on your washing machine to prevent fabric shrinkage and fading.
- Mild Detergent: Opt for a gentle detergent that’s kind to your fabric. Avoid bleach, as it can damage the fibers.
- Air Dry: Instead of using a dryer, hang your apron to air dry. This helps maintain its shape and prevents unnecessary wear.
Stain Removal Tips
Accidents happen, especially in the kitchen, but don’t fret—removing stains from your handmade apron can be straightforward with the right approach. Here are some common stain types and effective natural remedies to tackle them:
| Stain Type | Natural Remedy |
|---|---|
| Grease | Sprinkle baking soda, let sit, then brush off. |
| Tomato Sauce | Blot with cold water, apply white vinegar, rinse. |
| Wine | Pour salt on the stain, let absorb, then rinse. |
For best results, act quickly! Dab, don’t rub, to avoid spreading the stain. With a little care and these tips, your apron can stay looking fresh and fabulous, ready for your next culinary adventure!
Storage Recommendations
After successfully tackling those pesky stains, it’s time to think about how to store your handmade apron properly. Proper storage guarantees its longevity and keeps it looking great. Here are some tips you’ll love:
- Fabric Storage: Fold your apron neatly and place it in a breathable cotton bag to prevent dust accumulation. Avoid plastic, as it can trap moisture and lead to mold.
- Tool Organization: Keep your apron with your cooking tools. Hang it near your utensils or in a designated spot to make it easy to grab when you need it.
- Avoid Overstuffing: Don’t cram your apron into a drawer. A dedicated space allows it to maintain its shape and prevents wrinkles.
Creative Ways to Use Your Apron
There are countless creative ways to use your apron beyond just protecting your clothes while cooking. First, consider apron upcycling; transform an old apron into a stylish tote bag or a decorative wall hanging. Simply cut and sew to give it new life! Next, think about apron gifting.
Personalize one for a friend by adding pockets or embellishments that reflect their personality. You could even create themed aprons for special occasions—imagine a BBQ apron with fun graphics!
Finally, use your apron as a portable craft station; fill the pockets with supplies while you work on your next project. With these ideas, your apron can be a functional and creative part of your daily life!
Frequently Asked Questions
Can I Use a Sewing Machine for This Apron Pattern?
Absolutely, you can use a sewing machine for this pattern! Just guarantee your machine features a zigzag stitch, and choose fabrics like cotton or linen. They’ll make your apron both stylish and durable, trust me!
What Skill Level Is Required for This Apron Sewing Pattern?
This apron pattern’s perfect for beginners! Start with simple fabric choices like cotton. Use beginner tips—like pre-washing fabric and practicing stitches—to build confidence. Soon, you’ll craft a stylish apron with ease and enjoyment!
How Long Does It Take to Sew an Apron?
You’ll whip up that apron in about two hours, if you’re a sewing wizard! Grab your favorite apron fabric and trusty sewing tools, and prepare for a delightful adventure—just don’t expect magic!
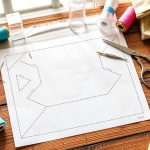
Are There Printable Patterns Available for This Apron?
Yes, there are printable templates for various apron designs available online. Simply download your preferred pattern, print it out, and follow the instructions. You’ll be sewing stylish aprons in no time! Happy crafting!
Can I Customize the Apron Size for Children?
Absolutely, you can customize the apron size for children! Just adjust the apron measurements to fit your little one perfectly. Choose vibrant, child-friendly fabrics to make it fun and engaging for them to wear!