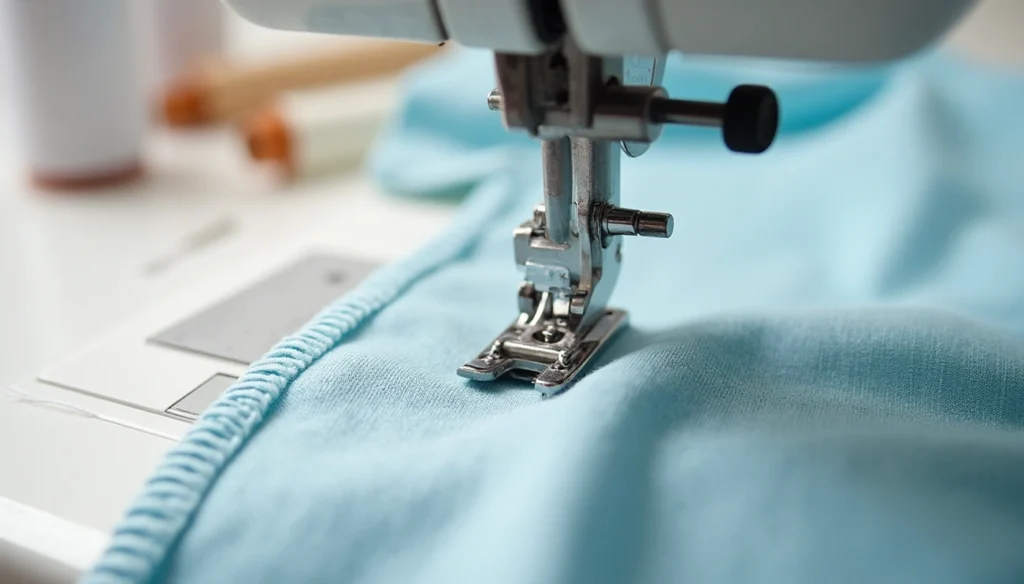
A sewing machine misses stitches when the needle is bent, dull, or incorrectly inserted, or when the thread tension is wrong. Other causes include using the wrong needle for the fabric, lint buildup in the hook area, or improper threading. Fix by replacing the needle, rethreading, and cleaning the machine.
What Causes Skipped Stitches?
Skipped stitches in sewing projects are often the first sign that something’s wrong with your machine. Understanding the root causes will help you fix the problem quickly and get back to creating.
Needle problems: old, bent, or wrong type
Most skipped stitch issues stem from needle-related problems. A dull needle that’s been used for more than 8 hours of sewing simply can’t penetrate fabric properly. Additionally, needles that appear sharp might have micro-scratches affecting stitch quality. Using the wrong needle type is equally problematic—for instance, attempting to sew jersey fabrics with a quilting needle instead of a ballpoint needle that’s designed to part stretchy fibers. Furthermore, a needle that isn’t fully seated in the needle bar or is slightly rotated can prevent proper thread catching.
Threading issues and tension imbalance
Incorrect threading is a major culprit behind skipped stitches. Missing even a single thread guide during setup can create tension problems. If your top thread isn’t reaching the bobbin correctly, the threads won’t lock properly, resulting in those frustrating skips. Tension imbalance between upper and bobbin threads causes weak or inconsistent stitches, often showing up as puckering or bunching on either side of the fabric.
Dirty or poorly maintained machine
Over time, lint and dust accumulate in crucial areas like the bobbin case, feed dogs, and around the needle. This buildup can physically obstruct moving parts, preventing proper stitch formation. A good rule of thumb is to clean your machine every five to ten days of active sewing—or twice monthly for most crafters. Those working with fabrics that fray excessively should clean even more frequently.
Fabric and thread mismatches
Using thread that’s incompatible with your fabric or needle size creates another set of problems. Thread that’s too thick for your needle can’t pass through the eye without catching. Likewise, setting stitch lengths too short for heavy fabrics or too long for lightweight materials increases the chance of skipped stitches. Even presser foot pressure matters—thick fabrics may need increased pressure to ensure the thread loop forms properly for the hook to catch.
How to Quickly Diagnose the Problem
Finding out why your sewing machine is missing stitches requires a systematic approach. Before taking your machine to a repair shop, try these diagnostic steps that often reveal the root cause within minutes.
Check the needle first
Since needle issues cause approximately 80% of skipped stitch problems, always begin your troubleshooting here. Initially, check if your needle is bent by rolling it on a flat surface – any wobbling indicates damage. Next, remove the needle completely and hold it up to the light to spot micro-scratches or dullness that might not be visible at first glance. Before reinstalling, verify you’re using the correct type for your fabric – ballpoint for knits, sharp for wovens. Subsequently, when inserting the needle, push it all the way up until it stops, with the flat side facing the back of the machine, then tighten securely.
Rethread both top and bobbin threads
Consequently, if the needle checks out, threading issues are the next likely culprit. First, clip the thread at the spool and pull it forward through the machine (never backward). While rethreading, ensure the presser foot is raised – this critical step releases the tension disks so thread can seat properly. Moreover, follow your machine’s threading diagram precisely, since missing even one thread guide can cause tension problems resulting in skipped stitches.
Inspect the bobbin and case
Upon completing the rethreading, examine your bobbin area thoroughly. Remove the bobbin and check for loose or unevenly wound thread – both indicate improper winding. Primarily, look for cracks or damage on the bobbin itself as well as tiny holes or burrs in the bobbin case that could interrupt smooth operation. Throughout your inspection, remove any lint or thread fragments using a brush. Before reinstalling, verify you’re using the correct bobbin type and size for your specific machine model.
Test on scrap fabric
Before returning to your project, prepare a test swatch using the same fabric and layers (including interfacing or stabilizer) where the sewing machine was missing stitches. Start with a straight stitch to verify basic tension, then try a zigzag to confirm side-to-side needle movement works properly. Finally, adjust settings gradually – try different stitch lengths and widths until you achieve skip-free results. Remember, this testing process isn’t a waste of time but rather a crucial diagnostic step that saves frustration later.
10-Minute Fixes to Try Right Now
Now that you’ve diagnosed the problem, let’s dive into solutions you can implement right away. Most skipped stitch issues can be resolved without professional help—all you need is about 10 minutes and these straightforward fixes.
1. Replace the needle
The simplest solution is often the most effective. Replace your needle with a fresh one, as worn needles cause the majority of skipped stitch problems. Follow the old rule of thumb: change your needle every 8 hours of sewing time or when starting a new project. Make sure you’re using the correct type—ballpoint for knits and sharp needles for woven fabrics.
2. Rethread the machine completely
Unthread your machine entirely, both top and bobbin threads. Raise the presser foot first (this opens the tension disks) and follow your manual’s threading diagram precisely. Missing even one thread guide can create tension issues that lead to skipped stitches.
3. Clean the bobbin area and feed dogs
Remove the throat plate and bobbin case. Use a soft brush to gently remove lint from the hook race and feed dogs. For stubborn “felt pads” of lint between feed dog teeth, carefully use a straight pin to lift them out. Apply one or two drops of sewing machine oil to the hook race if your machine requires it.
4. Adjust upper thread tension
If you notice uneven stitching, adjust your tension dial. When bobbin thread shows on the top side, your upper tension is too tight—turn the dial counterclockwise. Conversely, if upper thread shows underneath, your tension is too loose—turn the dial clockwise. Make adjustments in small increments, testing after each change.
5. Try a different stitch setting
Sometimes simply changing your stitch length or width can resolve skipping issues. For thick fabrics, try a slightly longer stitch length. Test different settings on scrap fabric until you find what works best.
6. Use the correct presser foot
Different tasks require different presser feet. For thick fabrics, a walking foot prevents layers from shifting and reduces skipped stitches. When sewing vinyl or leather, use a Teflon-coated foot to prevent sticking.
7. Switch to better thread
Low-quality thread often causes tension problems and breaks easily. Verify you’re using the appropriate thread weight for your fabric and needle size. Never use serger or embroidery thread in a regular sewing machine.
8. Flatten thick seams or use stabilizer
When sewing over bulky seams, your presser foot may tilt up, causing feed dogs to lose contact with fabric. Try these solutions:
- Use a “hump jumper” or “jean-a-ma-jig” to level the presser foot
- For machines with a “leveling foot,” engage the black button when approaching thick seams
- Add stabilizer beneath lightweight fabrics to prevent puckering
When to Call a Technician
Despite your best troubleshooting efforts, certain sewing machine problems require professional expertise. Understanding when to call a technician saves you time, frustration, and prevents potential damage to your machine.
Signs of timing issues
Hook timing is the critical relationship between the hook tip and needle eye that ensures proper stitch formation. Throughout normal use, this precise alignment can shift. You might have timing problems if your machine exhibits these symptoms: skipped stitches despite using the correct needle, tangled threads bunching under your fabric, unusual clunking or grinding noises, and frequent needle breakage even with regular-weight fabrics. The definitive test for timing issues involves examining whether the hook tip passes through or below the needle eye instead of slightly above it. Unfortunately, fixing timing requires specialized knowledge and tools beyond most home sewers’ capabilities.
Needle bar misalignment
A properly aligned needle bar ensures your needle enters the stitch plate hole precisely where it should. Misalignment occurs when the needle doesn’t center properly in the needle plate opening. Although you can check if your needle sits squarely in the center of the needle plate slot, adjusting the needle bar itself involves removing machine covers and carefully manipulating internal components. Needle bar height is equally important—typically, when the needle rises 1.6-2mm from its lowest position, the hook should pass just above the needle eye. Regardless of your comfort level with machine mechanics, these adjustments require precise measurements and should be handled by certified technicians.
Persistent skipping after all fixes
After replacing needles, rethreading, cleaning lint buildup, and trying all previous troubleshooting steps, continuing stitch problems indicate deeper issues. Professional technicians possess the expertise to inspect for hidden wear and tear not immediately visible. They’ll examine components like drive belts, gears, and lubrication points that affect timing synchronization. Additionally, manufacturer customer support can often guide you toward authorized repair services with proper training on your specific model. Albeit frustrating, investing in professional service typically costs less than replacing a machine damaged through inexperienced repair attempts.
Conclusion
Skipped stitches might seem like a major headache, but now you have all the tools needed to tackle this common sewing machine problem quickly and effectively. Most importantly, remember that something as simple as replacing a needle can solve about 80% of these issues within minutes.
The systematic approach outlined above will save you time and frustration. First, check your needle, then examine threading and tension, and finally inspect for maintenance issues. These steps almost always reveal the culprit behind those annoying skipped stitches.
Regular maintenance stands out as the best prevention strategy. Changing needles after eight hours of sewing, cleaning lint buildup twice monthly, and using the right needles for specific fabrics will significantly reduce your chances of experiencing this problem again.
Though many issues can be fixed at home, you should recognize when professional help becomes necessary. Timing problems and needle bar misalignments require specialized knowledge and tools that most home sewers don’t possess.
We hope this guide helps you get back to your projects faster. After all, sewing should be enjoyable rather than frustrating. The next time your machine starts skipping stitches, take a deep breath, remember these steps, and you’ll likely have it running perfectly again in under 10 minutes.


