Sewing your own tote bag is one of the easiest and most rewarding DIY sewing projects for beginners. It is perfect for grocery trips, beach days, or everyday use. You can choose your favorite fabric, adjust the size, and add your personal touch.
In this guide, you will learn how to cut the fabric, sew the seams, box the corners, and attach sturdy handles. By the end, you will have a stylish and durable tote bag that you can proudly use or gift.
Sew a tote bag by cutting fabric, sewing seams, and attaching handles. Use the following steps:
- Cut two outer and two lining fabric pieces (e.g., 16×14 inches)
- Add interfacing to outer pieces for structure
- Sew sides and bottom of both outer and lining pieces
- Box corners by snipping and stitching across the base
- Insert lining into outer bag, right sides together, and sew top edge
- Turn the bag right side out and press
- Measure, position, and sew on the handles
Customize with zippers, pockets, or decorative elements for added function.
Recommended Sewing Tools & Materials
Sewing your own tote bag is fun, but having the right tools makes all the difference. These beginner-friendly picks help you sew faster, straighter, and cleaner.
1. Heavy-Duty Sewing Machine

SINGER Heavy Duty 4423 High Speed Sewing Machine with Accessory Kit
Check PriceIdeal for thick fabrics like canvas or denim. Look for a machine with strong motor and adjustable stitch length.
2. Canvas or Cotton Fabric Pack

50 PCS 5″ x 5″ Precut Multi-Colors Cotton Fabric Squares Fabric Bundles for Sewing & Quilting Beginners
Check PriceDurable, washable, and easy to sew, perfect for tote bags.
3. Webbing Straps for Handles

New brothread Tear Away Machine Embroidery Stabilizer Backing 12″ x 50 Yd
Check PriceStrong, stylish straps that hold weight without stretching.
Example: Nylon Webbing Strap Roll 1 Inch Wide
4. Fabric Scissors

Gingher Dressmaker’s Fabric Scissors, 8″ Stainless Steel Shears
Check PriceSharp blades are essential for clean, straight edges.
5. Fabric Marking Tools

Clover White Chaco Liner
Check PriceFor marking seam allowances and pocket placements accurately.
Gather Materials and Tools for Hand Sewing
Before diving into your tote bag project, gathering the right materials and tools is essential for successful hand sewing. The quality of your supplies directly impacts how your finished bag looks and functions.
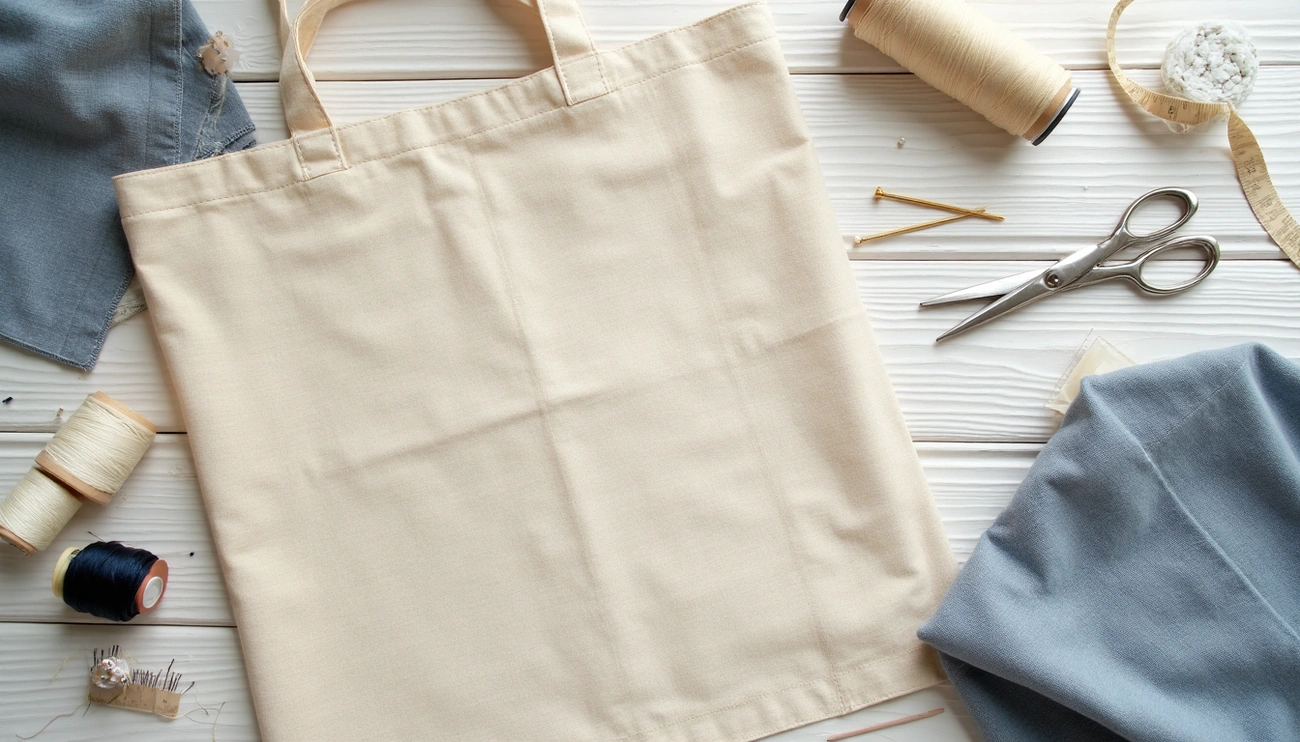
Fabric, thread, needle, scissors, pins
For the main fabric, medium-weight canvas or cotton works exceptionally well for tote bags. Canvas provides structure and durability that makes it ideal for carrying heavier items. Furthermore, quilting cotton can work for lighter-use bags, while denim from old jeans offers an excellent upcycling opportunity.
For hand sewing, you’ll need:
- Sharp fabric scissors for clean cuts
- Straight pins with glass ball heads for securing fabric
- Hand sewing needles appropriate for your fabric weight
- Measuring tape or ruler (at least 18″ long)
- Tailor’s chalk or washable fabric marker
- A thimble (essential for hand sewing thick fabrics)
When selecting needles, choose heavier options like glover needles or sailmaker needles which are specifically designed to penetrate dense materials like canvas. These sturdy needles prevent bending and breaking while working through multiple layers.
Optional: Lining fabric and interfacing
While not strictly necessary, lining fabric creates a more professional finish and hides raw seams. Choose a complementary color or pattern that coordinates with your exterior fabric.
Interfacing makes up approximately 25% of many sewers’ stashes because it adds crucial structure to bags. For tote bags, consider:
- Shape Flex (Pellon SF-101): Gives quilt-weight cotton the feel of decor-weight fabric
- Fusible Fleece (Pellon 987F): Adds padding and body
- Thermolam (Pellon TP971F): Creates substantial structure
Interfacing helps your bag maintain its shape, especially when carrying heavier items. Moreover, small squares of interfacing (approximately 2″ x 2″) can reinforce areas that will receive more stress.
Use strong thread for durability
Regular all-purpose thread simply won’t hold up in a tote bag. Instead, opt for extra-strong thread designed specifically for projects that will undergo stress and abrasion.
For hand sewing tote bags, waxed thread offers significant advantages, it’s coated with wax to provide added strength and water resistance. This coating helps the thread glide smoothly through thick fabrics while creating more durable stitches that resist breaking.
When pairing thread with needles, ensure compatibility, thread that’s too heavy for your needle causes breakage, while needles too small for your thread lead to tangling. Essentially, matching these components correctly creates stronger seams that will withstand the weight your tote bag will carry.
Cut and Shape Your Tote Bag Pieces
With materials in hand, it’s time to create the pattern pieces that will form your tote bag. The cutting stage requires precision to ensure your finished bag has a professional appearance and proper structure.
Measure and cut outer and lining fabric
First, determine your ideal tote bag size. Common dimensions include:
- Small tote: 12 by 14 inches (30 cm × 36 cm)
- Medium tote: 14 by 16 inches (36 cm × 41 cm)
- Large beach tote: 24 by 20 inches (61 cm × 51 cm)
For a standard medium-sized tote, I recommend cutting a rectangle approximately 36 inches long by 18 inches wide for the main bag body. If you’re adding a lining, cut an identical piece from your lining fabric.
Fold your fabric in half with right sides together, aligning the edges as best you can. This allows you to cut both front and back pieces simultaneously. Remember that the top edges might not align perfectly due to fabric warping, we’ll fix this later.
Cut 2-inch squares from bottom corners
Once your rectangles are cut, creating depth for your tote requires boxing the corners. On both bottom corners of your folded fabric, mark squares to remove:
For a 2-inch deep bag: Mark 1-inch squares For a 4-inch deep bag: Mark 2-inch squares For a 6-inch deep bag: Mark 3-inch squares
The formula is simple, divide your desired depth by two to determine square size. Subsequently, cut along these marks to remove the squares from each corner.
Mark handle placement
Proper handle placement ensures your tote hangs comfortably and evenly. For a standard tote, measure and mark handle positions approximately 3¼ inches from each side edge along the top. Alternatively, find the center of your bag and measure 2½ to 3 inches on either side.
For precise marking, fold your fabric into thirds lengthwise and mark the creases, these indicate ideal handle positions. Place pins or make small notches at these points so they’re visible after sewing.
Carefully double-check all measurements since small differences in cutting can significantly impact your finished bag’s appearance and functionality.
Hand Sew the Bag Structure
Now it’s time to transform your cut fabric into a functional tote bag through hand sewing. This crucial stage requires patience but yields rewarding results as your flat fabric takes shape.
Sew outer fabric sides and bottom
Place your outer fabric pieces with right sides facing each other, carefully aligning the edges. Pin along both sides and the bottom to secure them together, leaving the top open.
Begin hand sewing using a backstitch for maximum strength:
- Start at one corner, approximately ¼” from the folded edge
- Insert your needle from back to front, pulling thread through until the knot stops
- Work the needle in and out of the fabric, creating evenly-spaced stitches
- Continue along both sides and the bottom, keeping a consistent ¼” seam allowance
After completing the seams, press them open for a cleaner finish if possible.
Repeat for lining, leaving a turning gap
Following the same process for your lining fabric, pin right sides together and sew the sides and bottom. However, leave a 3-4″ opening in the bottom seam, this crucial gap allows you to turn your finished bag right side out later.
During this stage, ensure your stitches remain strong yet flexible enough for the turning process. Properly securing the beginning and end points of your stitching prevents seams from unraveling when turning.
Create depth with boxed corners
Boxed corners transform your flat bag into a three-dimensional tote with a stable base. To create them:
- With bag still inside out, pinch together the bottom corners
- Match the side and bottom seams precisely at each corner
- Pin across the corner, creating a straight line perpendicular to the seams
- Sew straight across, approximately ½” from the edge
This technique essentially “steals” width and height from your bag to create depth. For instance, if you sew 2″ from the corner point, your finished bag will have 4″ of depth.
Repeat this process identically on both corners of the outer fabric and lining. Once completed, your bag structure will have taken shape, ready for final assembly.
Assemble and Finish Your DIY Tote Bag
The most satisfying part of sewing a tote bag is watching separate pieces come together into a finished product. This final assembly transforms your flat fabric pieces into a functional, attractive bag that showcases your handiwork.
Insert lining into outer fabric, right sides together
Start by turning your outer fabric right side out. Then, with your lining still inside out, slip the outer fabric inside the lining so that right sides are facing each other. This positioning might seem counterintuitive initially, but it’s essential for a clean finish. Carefully match the side seams and align the raw edges at the top of both pieces.
Next, position your handles between the layers. Place each strap end approximately 4 inches from the side seams on the outer fabric. Double-check that your handles aren’t twisted and both ends face the same direction.
Pin and sew around the top edge
Once everything is aligned, pin around the entire perimeter of the bag opening to secure all layers together. This step requires precision as you’re working with multiple fabric layers plus the handle ends.
Beginning at one side seam, stitch a continuous line around the top with a ½-inch seam allowance. However, stop about 4 inches before your starting point. This gap is crucial for turning your bag right side out.
Turn the bag through the gap
Presently comes the magical transformation! Reach into the opening you left and gently pull the entire bag through this gap, turning it right side out. This technique is sometimes called “birthing” the bag. Work carefully to avoid stressing the seams as you pull.
After turning, lightly press with an iron to remove wrinkles and create crisp edges. This pressing step makes a remarkable difference in your bag’s professional appearance.
Hand-stitch the gap closed and reinforce handles
Fold the raw edges of the gap inward, matching the existing seam line. Close this opening using an invisible ladder stitch for a seamless finish. Alternatively, you can machine-stitch very close to the edge if you prefer.
Finally, topstitch around the entire bag opening about ¼-inch from the edge. This topstitching serves two crucial purposes: it creates a polished look and, more importantly, reinforces the handles where they meet the bag. For maximum durability, consider sewing an X-pattern or box with an X through it at each handle attachment point.
Throughout this process, remember that reinforcing stress points will significantly extend your tote bag’s lifespan.
FAQs About Sewing Tote Bags
What’s the Best Fabric for a Tote Bag?
Canvas, denim, and cotton duck are ideal because they’re thick, washable, and hold their shape well.
How Much Fabric Do I Need to Sew a Tote Bag?
For a standard tote, you’ll need about ½ to ¾ yard of fabric depending on size and design.
Do I Need a Lining for a Tote Bag?
Lining adds strength and makes the bag more durable — especially if you plan to carry heavier items.
Can I Sew a Tote Bag Without a Sewing Machine?
Yes, but it takes longer. Use a backstitch or running stitch by hand for durable seams.
What Stitch Is Best for Tote Bags?
A straight stitch with reinforced backstitching at the handles gives strength and a professional finish.
Conclusion
Making your own tote bag brings remarkable satisfaction beyond the practical outcome. Hand sewing might take slightly longer than machine stitching, but this beginner-friendly project delivers a personalized accessory worthy of pride. Most importantly, you’ve learned foundational sewing skills that transfer to countless future projects.
Remember that practice leads to improvement with each bag you create. Your first attempt might show a few imperfections, embrace these as part of the handmade charm! Additionally, consider experimenting with decorative elements once you’ve mastered the basic structure. Buttons, appliqué, or embroidery can transform a simple tote into something truly unique.