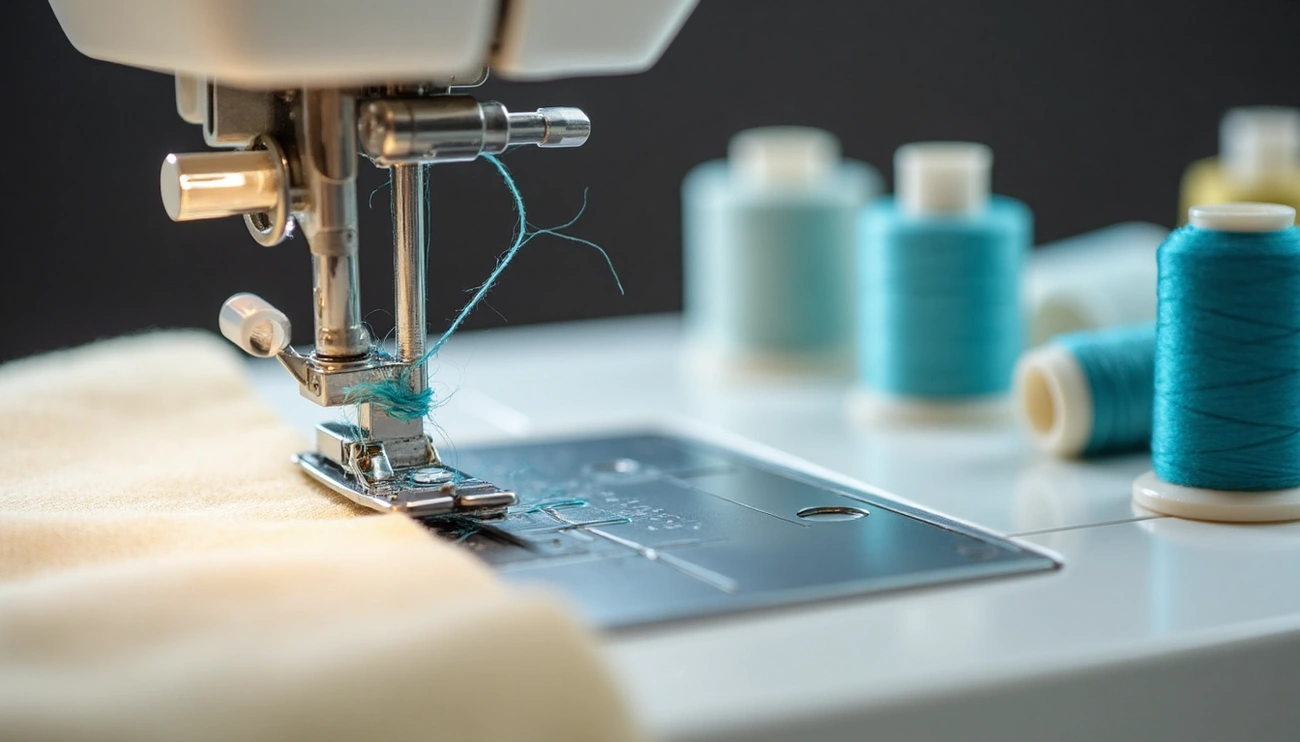
Thread keeps breaking while sewing due to incorrect threading, old or poor-quality thread, high tension settings, or a damaged needle. Rethread the machine, replace the needle, and adjust tension settings to prevent breakage. Ensure the bobbin is wound evenly and inserted correctly.
Check Your Thread First

Simthread 63 Colors Polyester Compatible with Brother Babylock Janome Singer Pfaff Husqvarna
Check PriceThe first potential culprit when your thread keeps breaking is the thread itself. Before blaming your machine, take a closer look at what you’re working with.
Is the thread old or brittle?
Thread doesn’t last forever, it has a limited lifespan. Most manufacturers recommend using thread within 2-3 years for optimal performance. Over time, thread can become brittle and weak, especially when exposed to unfavorable conditions.
To test if your thread is too old, unwind a forearm-length piece and tie a knot in the middle. Pull gently from both ends, if it breaks easily, it’s time to retire that spool. Remember, the strength of thread reduces by half once you put a knot in it.
Another quick test: hold a strand up to light and examine it closely. Quality thread appears tightly spun with few stray fibers, whereas low-quality or deteriorating thread shows fuzzy fibers protruding from the strand. These loose fibers not only indicate weakness but also create lint that can clog your machine.
Does the thread match the fabric and needle?
Pairing the wrong thread with your fabric or needle is a common reason why thread keeps breaking on sewing machines. The thread, needle, and fabric must work as a team.
For lightweight fabrics, use finer needles and threads; for heavyweight fabrics, choose larger needles and heavier threads.Furthermore, your thread should not occupy more than 60% of the needle eye’s width to prevent fraying during sewing.
Incorrect combinations can cause serious problems. For instance, sewing heavy fabrics like denim with thin needles (65/9 to 75/11) can cause the needle to bend or break and the thread to snap.
How to store thread to prevent damage
Proper storage significantly extends your thread’s lifespan. Three main enemies of thread quality are:
- Light exposure – Causes fading and weakening, making thread brittle
- Humidity – Dry climates make thread brittle; humid environments can cause thread to become sticky or even moldy
- Dust – Settles on spools and gets pulled into your machine’s tension disks
Store your thread in a cool, dry place away from direct sunlight, preferably in containers that protect from dust. Thread organizers with clear compartments allow you to see your collection while keeping it protected.
By inspecting your thread first, you can eliminate one of the most common causes of thread breakage and save yourself hours of frustration.
Inspect the Needle and Its Role

Sewing Machine Needles, 50 PCS Universal Sewing Machine Needle, Compatible with Singer, Brother, Janome, Varmax
Check PriceEven the highest quality thread can break if your needle isn’t up to the task. Your sewing machine needle plays a pivotal role in the stitch formation process, delivering thread from the top through your fabric while the machine’s hook catches it to create stitches.
Choosing the right needle size
Needle size directly affects how well your thread performs. Essentially, the numbers on sewing machine needles (like 90/14) indicate the needle’s diameter, European size first, American second. The larger the number, the thicker the needle.
A good rule of thumb: the heavier the fabric, the larger needle you’ll need. For delicate fabrics like organdy, use size 8 needles; for medium-weight fabrics like linen or jersey, size 12; for jeans, 14-16; and for heavy canvas, sizes 14-19.
Needle type matters more than you think
Beyond size, needle types have different shapes specifically designed for certain fabrics:
- Universal needles work with most medium-weight fabrics
- Jersey or ballpoint needles have rounded tips to push knit fibers aside rather than pierce them
- Stretch needles have slightly less rounded points to prevent skipped stitches in elastic fabrics
- Microtex needles feature very sharp points for densely woven fabrics
- Denim needles are reinforced with larger eyes for topstitching
How often should you change your needle?
Remarkably, most sewing experts recommend changing your needle after just six to eight hours of active sewing. Additionally, start each new project with a fresh needle. Although this might seem excessive, needles become dull and bent with use, making them less efficient at pushing through fabric threads.
Signs your needle is damaging thread
Several telltale indicators suggest your needle is causing thread breakage:
- Popping or clicking sounds as the needle enters the fabric
- Threads that break or shred consistently
- Skipped or uneven stitches
- Fabric puckering or visible damage
- Your machine making unusual noises or vibrating excessively
Remember that using the wrong needle can damage not just your thread and fabric but potentially your machine’s timing and bobbin hook. Consequently, investing in quality needles and changing them regularly prevents frustration and costly repairs down the road.
Threading and Tension Troubles
Improper threading and tension settings often cause mysterious thread breakage issues that can puzzle even experienced sewists. Let’s examine how these crucial factors affect your sewing success.
Is your sewing machine threaded correctly?
Incorrect threading is responsible for more tension problems than any other factor. Most importantly, always thread your machine with the presser foot UP, as this opens the tension disks to fully grab the thread. A common mistake is forgetting to place the thread through the take-up lever, which creates a tangled mess below your fabric.
To troubleshoot thread breakage, start by completely rethreading your machine. This simple fix solves problems surprisingly often, saving you from unnecessarily adjusting tension, changing needles, or switching threads.
Understanding top vs. bobbin thread tension
Think of top and bobbin threads as teams in a tug-of-war, when balanced, they meet in the middle of your fabric. The tension disks controlling the top thread are typically hidden in the right slit where you guide thread down before it goes up to the take-up lever.
Perfect tension creates stitches that look identical on both sides of your fabric. On most machines, the default tension setting is 4 or 4.5 for straight stitches.
How tension affects thread breakage
When tension is too tight, the fabric can pucker and bobbin thread becomes visible on the top side. Conversely, loose tension creates loops on the top and visible top thread underneath.
To adjust tension properly:
- Turn the dial toward higher numbers to tighten top thread
- Turn toward lower numbers to loosen top thread
- Make adjustments in small increments, testing after each change
Thread take-up lever and its importance
The take-up lever pulls the upper thread through the fabric after the needle has penetrated it. This essential component regulates thread tension and prevents excessive slack that leads to tangling.
If your machine produces large thread loops (like a “bird’s nest”) on the fabric’s underside, check if your thread is properly inserted through the take-up lever eyelet. The take-up lever’s upward movement cinches the stitch knot from below the needle plate into your fabric, without it, those loops remain underneath.
Machine and Environment Factors
Beyond thread, needle, and tension issues, several mechanical and environmental factors can silently sabotage your sewing experience. Let’s explore these hidden thread-breakers.
Burrs and rough spots in the machine
The smallest rough edge can wreak havoc on your thread. Check your throat plate (the metal plate under your needle) for tiny burrs from needle strikes, these microscopic metal projections snag and break thread. Use a rubber honing stick to smooth out these rough spots, gently rubbing back and forth over the affected area. A fine-grit sandpaper (150 or higher) or nail file works well for accessible areas.
Bobbin case and winding issues
That frustrating “bird’s nest” of tangled thread underneath your fabric often results from bobbin problems. Key issues include:
- Incorrectly seated bobbins or wrong bobbin size
- Uneven bobbin winding creating irregular tension
- Dirt or thread pieces obstructing the bobbin case movement
Clean your bobbin area regularly, removing all thread scraps and lint with a small brush or tweezers.
Spool orientation: cross-wound vs. stack-wound
Surprisingly, how your thread is wound determines its proper placement on your machine:
- Cross-wound thread (forms X patterns) should feed off the end with the spool stationary, works best on horizontal pins
- Stack-wound thread (wound in parallel layers) should spin freely on vertical pins
Using cross-wound thread on a vertical pin causes jerking and tension issues as the thread struggles to unwind properly.
Using accessories like thread guards
Thread stands provide proper orientation for cross-wound spools and large cones. For vintage machines with only vertical pins, consider:
- Using a simple glass jar to hold cross-wound thread
- Adding felt pads under spools to prevent machine damage
Environmental factors: humidity, dust, UV
Your sewing environment significantly impacts thread performance. High humidity causes tension problems and skipped stitches, while extremely dry conditions lead to thread breakage. Meanwhile, UV light and direct sunlight weaken thread fibers over time. Store your thread in sealed containers away from light, and consider using a dehumidifier in humid climates.
Best Tools & Supplies to Stop Thread from Breaking
If your thread keeps snapping, the issue might be tension, old needles, or poor-quality thread. These trusted sewing products help prevent breaks and keep your stitches smooth.
1. High-Quality Sewing Machine Needles
Old or dull needles can fray or snap thread. Choose sturdy options like Schmetz Universal or Denim Needles for consistent stitching.
2. Premium Polyester Thread
Strong, lint-free thread reduces tension problems and breakage, perfect for all-purpose or heavy fabrics.
3. Sewing Machine Oil
Keeps your machine running smoothly, reducing friction that can cause the thread to break mid-seam.
4. Thread Stand or Spool Holder
Helps your thread unwind evenly and prevents tangling, especially when using large spools.
5. Needle Threader Tool
Makes rethreading fast and reduces strain on the needle eye, a simple fix for frequent breakage issues.
Conclusion
Thread breakage while sewing certainly ranks among the most frustrating experiences for sewists at any skill level. After examining all possible causes, we can see that most issues stem from four main areas: thread quality, needle condition, tension settings, and machine maintenance.
First and foremost, checking your thread quality should become second nature before starting any project. Old or brittle thread simply cannot withstand the stress of machine sewing, regardless of how well your machine runs. Therefore, proper thread storage away from light, humidity, and dust will save countless future headaches.
Similarly, needle selection proves just as critical to your sewing success. The right needle size and type matched to your fabric prevents unnecessary stress on your thread. Remember that changing needles every 6-8 hours of sewing time prevents many common problems before they start.


