In this step-by-step guide, we’ll walk through everything you need to know about how to sew stuffed animals by hand. From selecting the right stitches to stuffing techniques that reach those tricky corners, you’ll soon be creating plush toys that look professionally made, even if you’re just starting out!
Best Tools & Supplies for Sewing Stuffed Animals
Bring your soft toy creations to life with the right sewing tools! These essentials help you sew clean seams, shape details, and make your stuffed animals last longer.
1. Hand Sewing Needles (Assorted Sizes)
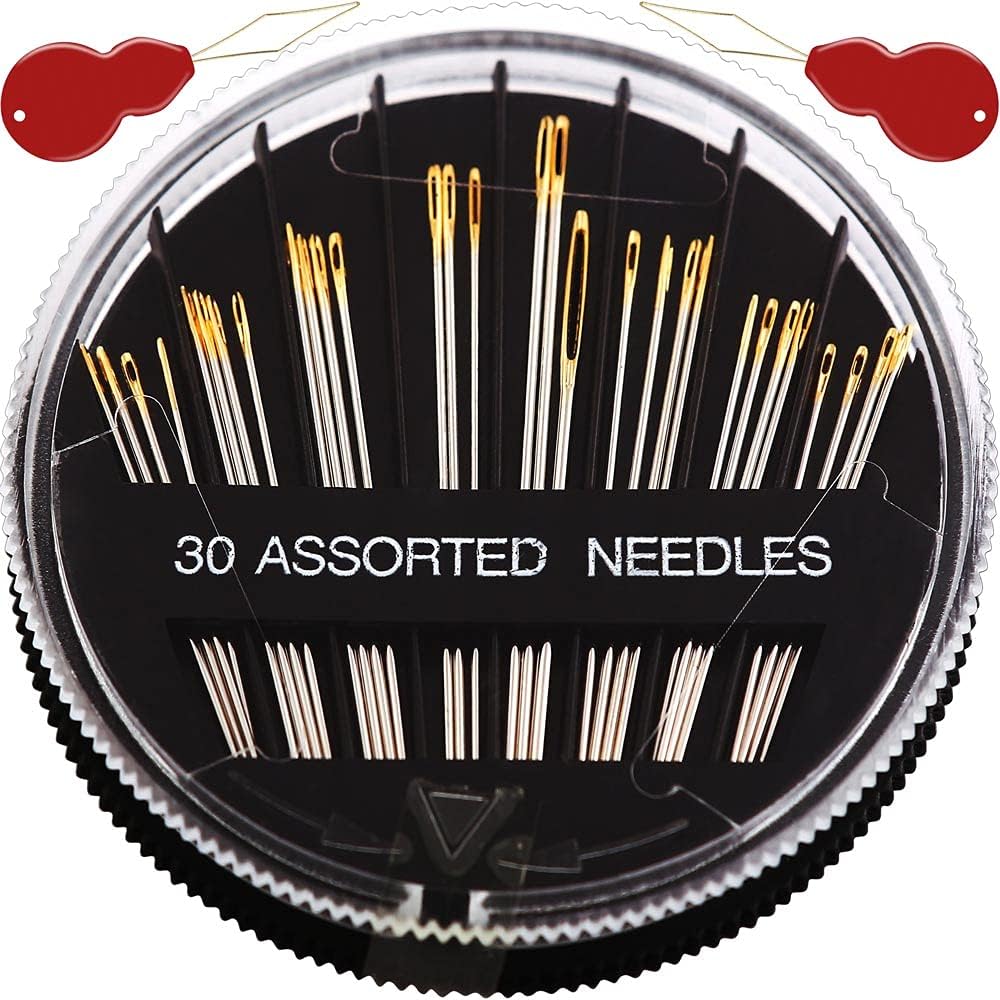
Premium 30/60 Pack Sewing Needles for Hand Sewing Repair with 2 Threaders
Check PricePerfect for stitching small details and closing seams on plush toys. Choose sharp, fine needles for smooth results.
2. Polyester Fiberfill Stuffing
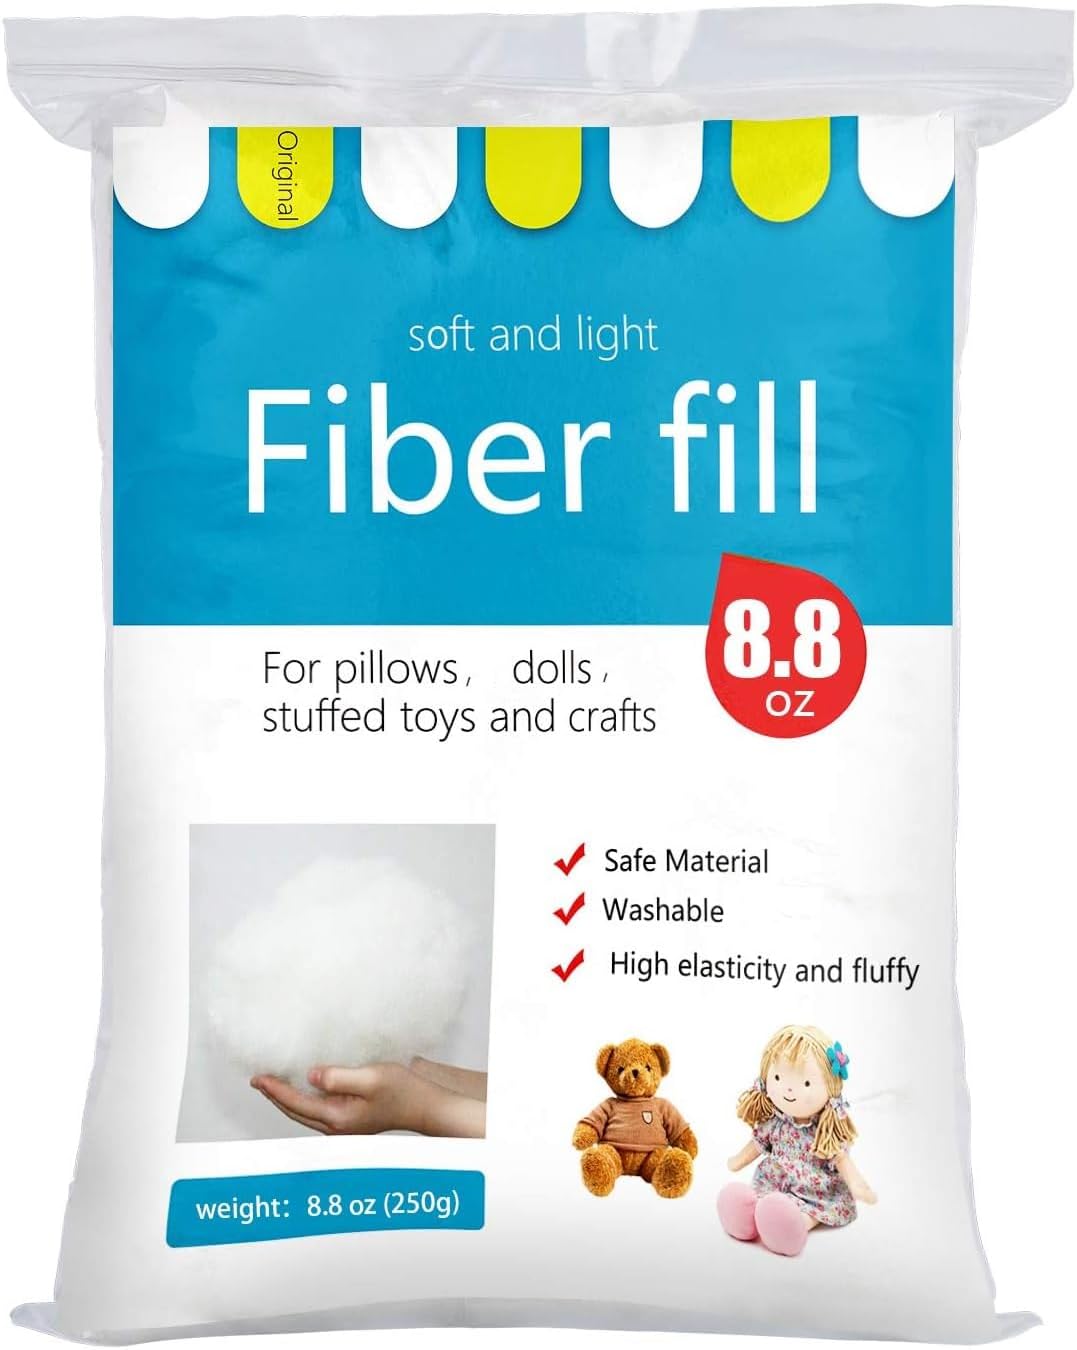
BUTUZE 250g/8.8oz Polyfill Stuffing Fiber Fill, (2.1oz-4.4lb) White Premium Fiberfill Stuffing for Craft
Check PriceLightweight, fluffy, and hypoallergenic — gives your stuffed animals a soft and bouncy feel.
3. Heavy Duty Hand Sewing Needles Set

ZP Crafts 15 Professional Leather Needles Kit for Hand Sewing with Different Types for Your Projects
Check PriceIdeal for closing openings and attaching parts like ears, tails, or limbs with neat, invisible stitches.
4. Fabric Clips or Pins

Multipurpose Sewing Clips, 100 Pcs Premium Plastic Fabric Clips Supplies
Check PriceHelps hold soft fabrics securely without distortion while sewing curved edges.
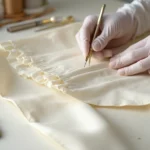
5. Fabric Marker Pens

ARTISTRO 24 Dual-Tip Fabric Markers – Fabric Decorating Kit
Check PriceUse these to trace sewing lines, facial features, or patterns before stitching — easy to remove with water or heat.
6. Small Embroidery Scissors
Fiskars Premier No. 5 Micro-Tip Orange-Handled Fabric Scissors
Check PriceSharp tips make trimming threads and shaping details around tiny seams easy and precise.
Essential Hand Stitches for Stuffed Animals
Mastering these six essential hand stitches forms the foundation of creating professional-looking stuffed animals. Each stitch serves a specific purpose in your plush toy creation journey, from constructing seams to adding detailed facial expressions.
Running stitch – for basic seams
The running stitch is the most fundamental technique you’ll use throughout your stuffed animal projects. This simple up-and-down motion creates basic seams and works perfectly for straight sections. I keep my stitches fairly small (no bigger than 1/4 inch) when sewing plushies for a more polished look. Furthermore, this versatile stitch can be used for gathering fabric, creating ruffles, or pleating sections of your stuffed animal.
Ladder stitch – for invisible closures
Also known as the slip stitch or hidden stitch, the ladder stitch is crucial for closing stuffing holes with an invisible finish. After turning and stuffing your plush toy, this stitch creates a nearly undetectable seam. The technique involves making alternating stitches along both sides of an opening that, when pulled tight, disappear into the fabric. Consequently, your finished plushie looks seamless and professionally made.
Whip stitch – for attaching parts
The whip stitch excels at joining two pieces of fabric together, especially when creating round shapes like heads or bodies. This stitch is remarkably useful when working with non-fraying fabrics such as felt or fleece. Meanwhile, it’s also perfect for attaching limbs, ears, and other appendages to your main plush body. The whip stitch creates a durable bound seam without adding bulk.
Blanket stitch – for decorative edges
Originally used to finish blanket edges, this stitch both secures edges and adds decorative flair. The blanket stitch works wonderfully for thick materials like felt, emphasizing edges with a professional appearance. Therefore, it’s particularly effective when done in contrasting colors. This stitch creates a series of even, parallel lines with a border running along the edge connecting them.
Backstitch – for facial features
The backstitch creates continuous, solid lines, making it ideal for embroidering facial features like smiles, eyebrows, or outlines. Unlike running stitch, backstitch involves taking a “step backward” with each stitch, creating a stronger, unbroken line. This technique is excellent for detailed work where precision matters.
Chain stitch – for bold outlines
The chain stitch creates a series of interlocking loops that form thicker, more pronounced lines. This versatile embroidery stitch works wonderfully for creating bold facial features, decorative elements, or emphasized outlines. The chain stitch adapts easily to curves and can be worked in various thicknesses depending on your thread choice.
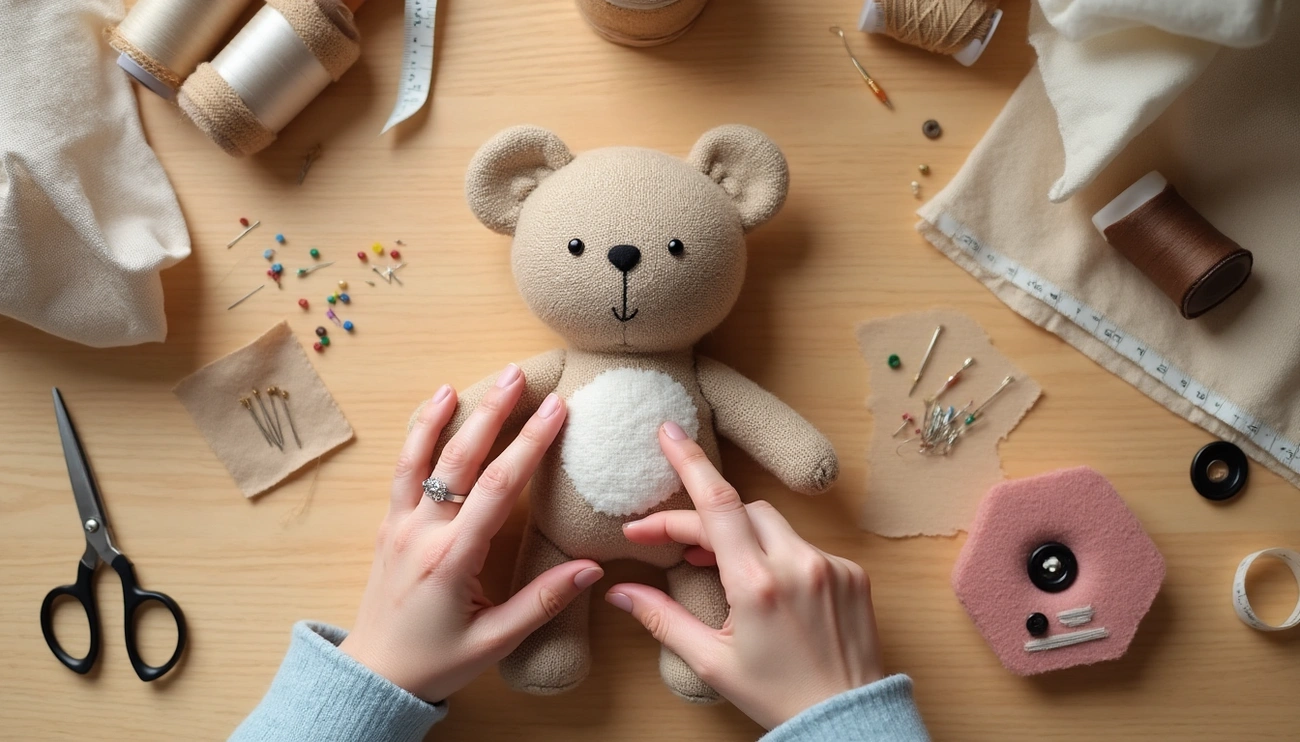
Step-by-Step: How to Sew a Stuffed Animal for Beginners
Creating your own stuffed animal begins with a clear plan and simple steps. Unlike complex sewing projects, plushies follow a basic construction approach that makes them perfect for beginners.
Draw or trace your pattern
Initially, I decide what animal I want to create and sketch a simple design. For beginners, choosing a basic shape with minimal sharp edges or complex curves works best. After finalizing my design, I enlarge it to my desired size using a photocopier or by hand-tracing.
Generally, the pattern should include all body parts—main body, limbs, ears, and any decorative elements. Moreover, I always add a 1/2 inch seam allowance around all edges to ensure proper construction.
Cut two mirrored fabric pieces
During this stage, I place my pattern pieces on the fabric with the right sides facing up. Accordingly, I pin them securely to prevent shifting while cutting. Then, using fabric scissors, I cut precisely along the lines for accuracy. For stuffed animals, I need to cut two mirrored pieces for the body, this creates the front and back that will be sewn together. Throughout this process, I keep pieces neatly organized by labeling them (body, arms, legs, etc.).
Pin and stitch around the edges
Before sewing, I place the corresponding fabric pieces together with right sides facing each other. Subsequently, I pin around the edges, paying special attention to curves and corners. Pins should be placed perpendicular to the edge about 1/4 inch from the fabric edge. While sewing, I maintain a consistent 1/4 inch seam allowance and use a straight stitch or zigzag stitch. For curved areas, I clip the seam allowance every 1/2 inch to ensure smooth curves when turned.
Leave a gap for turning and stuffing
A crucial step is leaving an opening—typically 2-3 inches for small projects or larger for bigger animals. This opening allows me to turn the fabric right side out and insert stuffing. Undeniably, the best location for this gap is along a straight edge or the bottom of the toy where it will be less noticeable.
Stuffing and Shaping Your Plush Toy
The stuffing process transforms flat fabric into a huggable creation, making it one of the most crucial steps in plush toy making. Your selection of materials and stuffing techniques directly affects how professional and polished your finished animal appears.
Best materials for stuffing
Stuffing materials fall into two main categories, each with unique properties:
Natural materials offer eco-friendly options with distinctive feels:
- Cotton: Soft, hypoallergenic, and ideal for most sewing projects
- Wool: Provides durability and softness but costs more than synthetic options
- Corn fiber: Combines hypoallergenic properties with environmental benefits
- Kapok: Derived from seed pods, offers silky lightweight texture and resists mold
- Bamboo: Creates a fine texture while being sustainable and antimicrobial
Synthetic materials provide consistent results:
- Polyester fiberfill: The most common choice due to its affordability, washability, and easy availability
- Plastic pellets: Add weight to help toys sit upright or provide sensory benefits
For weighted bottoms that help plushies stand, I’ve found plastic pellets or glass beads work better than organic materials like rice or beans, which can attract pests over time.
How to reach small corners
Stuffing those tiny extremities requires precision. First of all, I break my stuffing into small pieces rather than using large clumps—this prevents lumps and allows for even distribution.
For narrow areas like ears, arms, or tails, I use a wooden dowel or the eraser end of a pencil. The eraser provides grip that helps push stuffing all the way to the tips. In fact, I start with the smallest bits of stuffing for tiny appendages, gradually increasing the amount as I work toward larger areas.
Tips for shaping arms, legs, and head
The density of stuffing dramatically affects your plush toy’s appearance and posability. In essence, different body parts require varied firmness:
- Head: Stuff firmly throughout, but shape as you go by pushing stuffing outward from the center
- Neck: Fill densely to support the head and prevent flopping
- Shoulders: Pack more firmly than the rest of the arm to help limbs hold their position
- Arms/legs: Stuff less firmly at connection points if you want them to hang naturally
- Body: Create a balanced medium firmness for huggability
For body parts that need to stand up straight, I stuff more densely. However, for parts that should flop or hang, I reduce the density. Notably, when shaping rounded areas like cheeks, I push the stuffing outward and pinch to create the desired contour rather than just filling randomly.
Final Assembly and Decorative Details
The final assembly stage brings your stuffed animal to life, transforming separate fabric pieces into a charming character with personality. At this point, your creativity truly shines as you add the finishing touches that make your plush creation unique.
Closing the toy with ladder stitch
After stuffing your plush toy, the ladder stitch creates an almost invisible closure. First, iron down the opening with the seam allowance tucked under to create crisp fold lines – this makes hand sewing much easier. Thread your needle with sturdy thread (hand quilting thread works well) and knot the end. Begin by hiding the knot inside the fold, then work alternating small stitches (about ⅛” long) along opposite sides of the opening.
As you continue stitching, the thread should jump straight across the opening while remaining hidden inside the folded edges. Once you’ve sewn about halfway, gently pull the thread to tighten the stitches, closing the gap. After completing the seam, secure with two small knots and hide the thread tail inside the toy.
Attaching eyes, nose, and mouth
For child-safe options, either use safety eyes and noses with locking backs or create facial features with embroidery. For embroidery, thread your needle with contrasting floss and hide the knot inside the toy.
For embroidered eyes, simple stitches can create effective expressions. Backstitch works wonderfully for outlining facial features, while satin stitch creates solid filled areas perfect for noses. Essentially, the size and placement of these features dramatically affect your toy’s expression.
Optional: Adding yarn hair or clothes
For yarn hair, cut multiple strands to twice your desired length. Fold each piece in half and use your crochet hook to pull the folded end through a stitch, then draw the loose ends through the loop. Repeat until you achieve the desired fullness.
For clothes, examine your own garments for inspiration on construction. Pin fabric pieces with right sides together, sew around the edges, turn right-side out, and attach to your plush toy using simple hand stitches.
Conclusion
Creating your own stuffed animals might seem daunting at first, but as we’ve seen throughout this guide, the process breaks down into manageable steps anyone can master. Most importantly, you don’t need expensive equipment or years of practice to make charming plush toys – just basic materials and patience.
The six essential stitches we covered form the backbone of successful plush toy creation. Learning these fundamental techniques allows you to construct durable seams, create invisible closures, and add expressive details that bring your creations to life. Therefore, practicing these stitches before starting your first project will significantly improve your results.
Remember that stuffing techniques make all the difference between amateur and professional-looking plush toys. Small pieces of stuffing pushed into corners with tools like wooden dowels create smooth, even shapes. Additionally, varying the stuffing density helps different body parts function properly – firmer heads and necks, slightly looser limbs.