Yes, sewing machines can sew on buttons effectively, but you need to understand your machine’s capabilities and have the right tools. Confirm your machine has a button sewing foot and use durable thread that matches your fabric. Choosing the correct stitch type is essential; for shank buttons, use a zigzag stitch, while flat buttons require a straight stitch. Proper techniques and troubleshooting tips will enhance your button attachment skills, providing you with more insights as you proceed.
Understanding Your Sewing Machine’s Capabilities
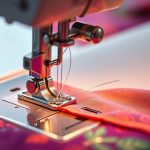
Understanding your sewing machine’s capabilities is essential for maximizing its potential and achieving professional results. Familiarizing yourself with the machine features, such as stitch selection and presser foot options, can greatly enhance your sewing experience. For example, many machines come equipped with specific buttonhole settings that allow you to create various button types seamlessly.
You should check if your machine has a button sewing feature, which enables you to attach buttons with precision. Additionally, understanding the tension settings and feed mechanisms can help you adjust for different fabric weights and types, ensuring that the buttons are securely fastened. By mastering these aspects, you’ll be able to tackle button sewing tasks with confidence and efficiency.
Essential Tools for Button Sewing
When it comes to sewing buttons, having the right tools can make all the difference in achieving a professional finish. Here are four essential items you’ll need:
- Sewing Machine: Verify it’s equipped with a button sewing foot to accommodate different button types.
- Thread: Choose durable thread that matches your fabric; polyester is often a reliable option.
- Needles: Select the right needle size based on your thread choice and fabric thickness for best results.
- Buttonhole Cutter: If you’re working with buttons that require buttonholes, this tool will help you create precise openings.
Having these tools on hand will streamline your button sewing process and enhance the overall quality of your work.
Step-By-Step Guide to Sewing Buttons With a Machine
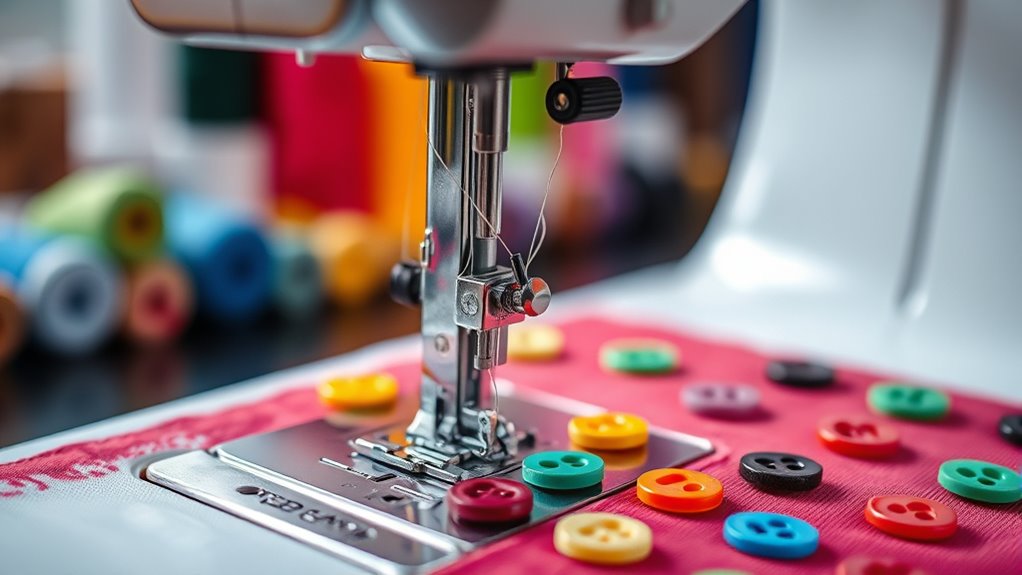
Sewing buttons with a machine can be accomplished in just a few simple steps, ensuring a secure and polished finish. First, select the appropriate button type, as different buttons require different techniques. For shank buttons, adjust your machine settings to a zigzag stitch, ensuring the needle passes through the button’s shank.
For flat buttons, a straight stitch is ideal; position the button and carefully set the width accordingly. Next, lower the presser foot and begin sewing, making sure to backstitch for added security. After a few stitches, lift the presser foot, place a small piece of thread or fabric beneath the button for spacing, and continue sewing. Finally, secure the threads and trim any excess, completing the button attachment process.
Tips for Successful Button Attachment
Successful button attachment can greatly enhance the overall appearance and functionality of your garment. To guarantee a secure and aesthetically pleasing button placement, consider these tips:
- Choose the Right Button Types: Select buttons that complement the design and weight of your fabric. Lightweight fabrics pair well with smaller buttons, while heavier fabrics require larger, sturdier options.
- Check Fabric Compatibility: Confirm your button’s material is compatible with your fabric to prevent wear and tear.
- Use Stabilizers: When working with delicate fabrics, a stabilizer can help maintain structure and prevent puckering.
- Test Stitching Techniques: Before sewing on the actual garment, practice your technique on a scrap piece of the same fabric to achieve the desired look and durability.
Troubleshooting Common Button Sewing Issues
Although button attachment can seem straightforward, various issues may arise during the process that affect both function and aesthetics. One common problem is mismatched button types. Verify your chosen button is compatible with your fabric.
For instance, heavy buttons may not work well with lightweight fabrics, leading to sagging. Additionally, improper stitch length can cause buttons to be too loose or too tight, making them ineffective. If you notice the button isn’t securing properly, check the thread tension; too loose can lead to gaps.
Finally, if the button pulls through the fabric, it may indicate that you need a stabilizer to enhance fabric compatibility. By addressing these concerns, you can achieve a secure and visually appealing button attachment.
Frequently Asked Questions
Can All Sewing Machines Sew Buttons Effectively?
Not all sewing machines can sew buttons effectively. You’ll need to check for specific button sewing techniques and machine button features. Look for machines with built-in buttonhole capabilities and specialized presser feet for ideal results.
What Types of Buttons Are Best for Machine Sewing?
Like choosing the right tool for a job, selecting buttons that are flat or shank-style enhances machine compatibility. These types guarantee smoother sewing, reducing tension and creating durable attachments, perfect for your projects.
Do I Need a Special Foot for Sewing Buttons?
Yes, you’ll need a special button foot for ideal button sewing techniques. There are various button foot options available, designed specifically for different button sizes and styles, ensuring accurate stitching and secure attachment to your fabric.
How Long Does It Take to Sew on a Button?
It doesn’t take long to sew on a button—usually just a few minutes. With effective button sewing techniques and some solid button sewing tips, you’ll have that button secured in no time, trust me!
Can I Sew Buttons on Thick Fabrics With My Machine?
Yes, you can sew buttons on thick fabrics using your machine, but it’s essential to use appropriate button attachment techniques. Be mindful of thick fabric challenges, like needle size and tension adjustments, for best results.