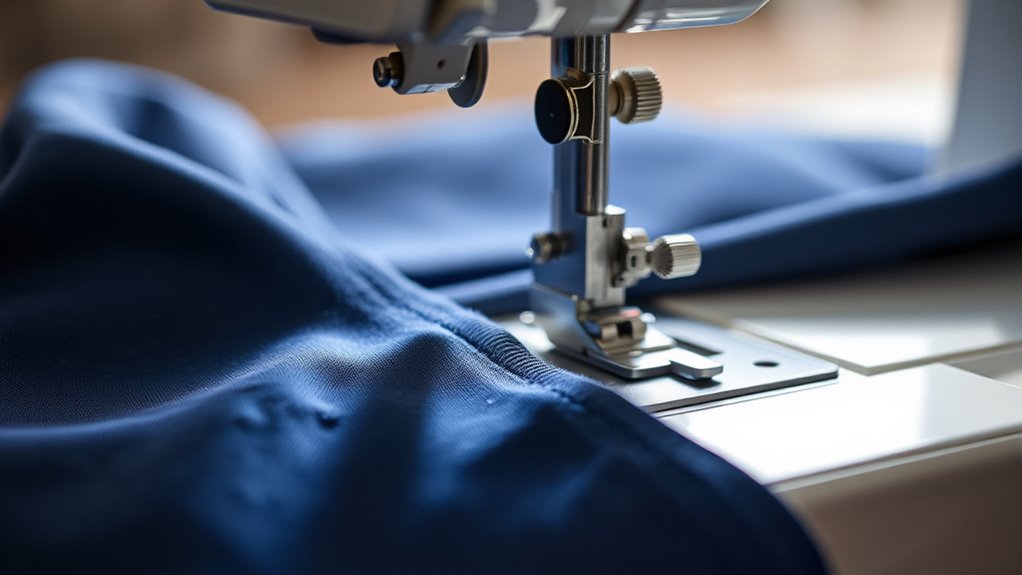
To use an invisible zipper foot, first attach the foot to your sewing machine and guarantee it’s aligned with the needle. Prepare your fabric by cutting and marking the zipper placement accurately. Pin the zipper in place, then sew close to the zipper teeth using a straight stitch. Press the seam for a neat finish. Keep an eye on alignment and stitch distance to avoid common issues. There’s more you can discover to perfect your technique.
Understanding the Invisible Zipper Foot
An invisible zipper foot is a specialized sewing tool designed to help you install invisible zippers with precision and ease. This foot has grooves on the underside that allow you to sew right up to the zipper teeth without getting in the way, making it perfect for achieving a clean, professional finish.
One of the main foot advantages is that it keeps your fabric aligned while you sew, ensuring your zipper lies flat and remains hidden. Additionally, using this foot can save you time, as it reduces the need for adjusting your fabric repeatedly. With practice, you’ll find that an invisible zipper foot can elevate your sewing projects, allowing for seamless installations that enhance your finished garments.
Tools You Will Need
To successfully install an invisible zipper, you’ll need a few essential tools to guarantee a smooth sewing process. First, gather your sewing tools, including a sewing machine compatible with an invisible zipper foot. You’ll also need fabric scissors for precise cutting and pins or clips to hold your zipper in place.
Make sure you have the right zipper types; choose an invisible zipper that matches your fabric’s color and length. A measuring tape is helpful for accurate placements, and a seam ripper is handy for any adjustments. Finally, keep a good iron nearby to press seams for a polished finish. With these tools ready, you’ll be well-prepared for your invisible zipper project.
Preparing Your Fabric
With your tools gathered, the next step is preparing your fabric for the invisible zipper installation. Start by selecting the right fabric; lightweight cotton or polyester is ideal. Confirm your fabric is clean and free from wrinkles. Pre-wash and iron it if needed to avoid future shrinkage.
Here’s a quick reference table for fabric preparation:
| Step | Action | Notes |
|---|---|---|
| 1. Fabric Selection | Choose lightweight fabric | Avoid heavy materials for ease of zipper insertion |
| 2. Pre-wash | Wash fabric to remove sizing | This prevents shrinkage later |
| 3. Iron | Iron fabric to remove wrinkles | Confirm a smooth surface for sewing |
| 4. Cut | Cut fabric to desired size | Use sharp scissors for clean edges |
Following these steps will confirm your project starts on the right foot!
Marking the Zipper Placement
Before you plunge into sewing, it’s essential to accurately mark the zipper placement on your fabric, as this will guarantee a clean and professional finish. Start by determining the desired length of your zipper and where it’ll be positioned on your garment.
Use a fabric marking tool, such as a chalk pencil or a water-soluble marker, to indicate the top and bottom of the zipper opening. Employ straight or curved marking techniques, depending on your design. Make sure that your marks are straight and evenly spaced to maintain placement accuracy.
Double-check your measurements before moving on; it’s easier to fix mistakes at this stage than later in the sewing process. With precise markings, you’ll set yourself up for success.
Attaching the Invisible Zipper Foot
To attach the invisible zipper foot, start by removing your standard presser foot and securely snapping on the invisible zipper foot. Next, adjust the needle position to align it with the foot’s groove, which will help you sew close to the zipper teeth. This setup is essential for achieving a clean, professional finish.
Zipper Foot Installation Steps
Attaching an invisible zipper foot to your sewing machine is a straightforward process that can greatly improve your projects. This foot is essential for working with various zipper types and mastering sewing techniques. Here’s how to install it:
- Remove the regular presser foot: Loosen the foot’s screw and take it off your machine.
- Select the invisible zipper foot: Make sure it’s compatible with your sewing machine model.
- Attach the invisible zipper foot: Align it with the machine’s shank, then tighten the screw securely.
- Check the foot’s placement: Confirm it’s positioned correctly for a smooth sewing experience.
Now you’re ready to tackle invisible zippers with confidence! Enjoy enhancing your sewing projects with this versatile tool.
Needle Position Adjustment
Once you’ve installed the invisible zipper foot, adjusting the needle position is essential for achieving a professional finish. Start by using needle alignment techniques to guarantee your needle is positioned close to the zipper teeth without sewing over them. Most machines allow you to move the needle left or right; experiment to find the best position that works for your project.
Next, consider stitch length adjustment. For an invisible zipper, a shorter stitch length (around 2.0 to 2.5 mm) helps create a more secure seam and prevents puckering. Test on a scrap fabric to guarantee everything’s aligned properly. Once you’re satisfied, you’re ready to sew the zipper in place, leading to a clean, polished look on your finished garment.
Sewing the Zipper
Sewing the zipper can feel challenging, but with the right technique, it becomes a straightforward task. To guarantee your invisible zipper turns out perfectly, follow these zipper sewing tips:
- Align the Zipper: Position the zipper teeth just above the seam line, guaranteeing it’s centered.
- Pin in Place: Use pins to secure the zipper, keeping it flat against the fabric.
- Choose the Right Foot: Attach your invisible zipper foot, adjusting the needle position if needed to sew close to the zipper teeth.
- Sew with Care: Begin sewing at the top, guiding the fabric against the foot, and maintain an even stitch along the zipper.
Utilizing these invisible zipper techniques will help you achieve a professional finish every time!
Pressing and Finishing
Once you’ve sewn in your invisible zipper, it’s time to focus on pressing and finishing for a polished look. Start by properly preparing your fabric to avoid any unwanted creases and guarantee a smooth finish. Then, give the final seams a good press to set everything in place and enhance the overall appearance of your project.
Proper Fabric Preparation
Before you start attaching your invisible zipper, it’s essential to assure your fabric is properly prepared through pressing and finishing. This step guarantees a smooth installation and ideal results. Here’s how to properly prepare your fabric:
- Pre-wash fabrics: Always wash your fabric to remove any chemicals or shrinkage issues.
- Choose the right fabric types: Different fabrics may require specific care; check their labels for guidance.
- Press the fabric: Use a steam iron to eliminate wrinkles, making it easier to work with during the zipper installation.
- Finish the edges: Consider serging or using a zigzag stitch to prevent fraying, especially on woven fabrics.
Taking these steps will set you up for success with your invisible zipper project.
Final Seam Pressing
While it may be tempting to skip the final seam pressing, taking this essential step can greatly enhance the appearance and functionality of your invisible zipper installation. Start by carefully aligning the invisible zipper, making sure it’s properly positioned within the seam.
Use final seam techniques such as pressing the fabric away from the zipper to create a crisp edge. Set your iron to the appropriate heat for your fabric type, and gently press along the zipper, avoiding direct contact with the zipper teeth to prevent damage. This helps to maintain the invisible zipper alignment, ensuring a clean finish.
Finally, give the surrounding fabric a light press to smooth any wrinkles, giving your project a professional look.
Troubleshooting Common Issues
When using an invisible zipper foot, you might encounter a few common issues that can affect your sewing results. Here are some troubleshooting tips to help you address these problems:
- Foot Alignment: Verify the invisible zipper foot is correctly positioned. Misalignment can lead to uneven stitching.
- Zipper Tape Bunching: If the fabric gathers, check your tension settings and adjust accordingly.
- Stitching Too Close: Avoid sewing too close to the zipper teeth, which can lead to a bulky seam.
- Skipped Stitches: If you notice skipped stitches, make certain your needle is appropriate for the fabric type and consider changing it.
Tips for Perfect Installation
Having addressed some common issues with your invisible zipper foot, it’s time to focus on achieving a flawless installation. Here are some essential tips to guarantee sewing precision with invisible zipper techniques:
| Tip | Description |
|---|---|
| Accurate Marking | Use a fabric marker to mark zipper placement accurately. |
| Aligning the Zipper | Assure the zipper teeth are aligned with your seam for a clean finish. |
| Test Before You Sew | Always do a test run on a scrap piece of fabric to perfect your technique. |
Frequently Asked Questions
Can I Use an Invisible Zipper Foot on All Sewing Machines?
You can use an invisible zipper foot on most sewing machines, but compatibility varies by brand. Check your machine’s manual to verify it supports this foot, guaranteeing you get the best results with your projects.
What Types of Fabrics Work Best With Invisible Zippers?
Lightweight fabrics and stretchy materials work best with invisible zippers. They create a smooth finish and allow the zipper to blend seamlessly. Just make certain you choose the right needle and thread for ideal results.
How Do I Clean My Invisible Zipper Foot?
To clean your invisible zipper foot, use a soft brush or cloth to remove lint and debris. For stubborn stains, a damp cloth with mild soap works well. Regular maintenance keeps it functioning smoothly for your projects.
Are There Different Sizes of Invisible Zipper Feet?
Yes, there are different sizes of invisible zipper feet. They vary based on invisible zipper types and sewing machine models, so make certain your chosen foot is compatible with your machine for best results.
Can I Use an Invisible Zipper Foot for Other Types of Zippers?
You can’t use an invisible zipper foot for other zipper types. About 70% of sewists prefer invisible zippers for their seamless look. Mastering sewing techniques for different zippers requires the right foot for best results.


